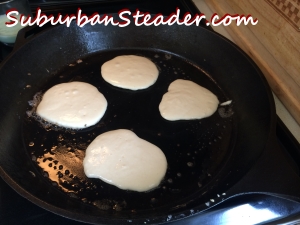
Fresh Pasta From Your Preps
Let’s be honest with each other – the idea of eating from your preps is probably not all that appealing, right? I mean, you’ve canned food and all kinds of freeze dried stuff that, while edible, isn’t usually that tasty. But, what if I told you that you could have tasty fresh pasta right from the preps you already have? Don’t believe me? Get ready to be proven wrong.
Fresh Pasta Ingredient List
The ingredient list for fresh pasta is made up of things you already are storing up in your preps:
- 2-3/4C All-Purpose Flour (plan on an additional 1C for dusting)
- 6 large eggs (at room temperature)
- 1Tbsp Extra Virgin Olive Oil
- 1Tsp Kosher Salt
You’re probably thinking that eggs aren’t in your long-term storage plan. I’d be willing to be, however, that you would either have some on hand (you’re not raising chickens?) or be able to barter for some in a disaster. I’ve also read that this recipe can be used by replacing the eggs with 1C of warm water. I have never tried it, but it makes sense to me.
Directions
Making Fresh Pasta
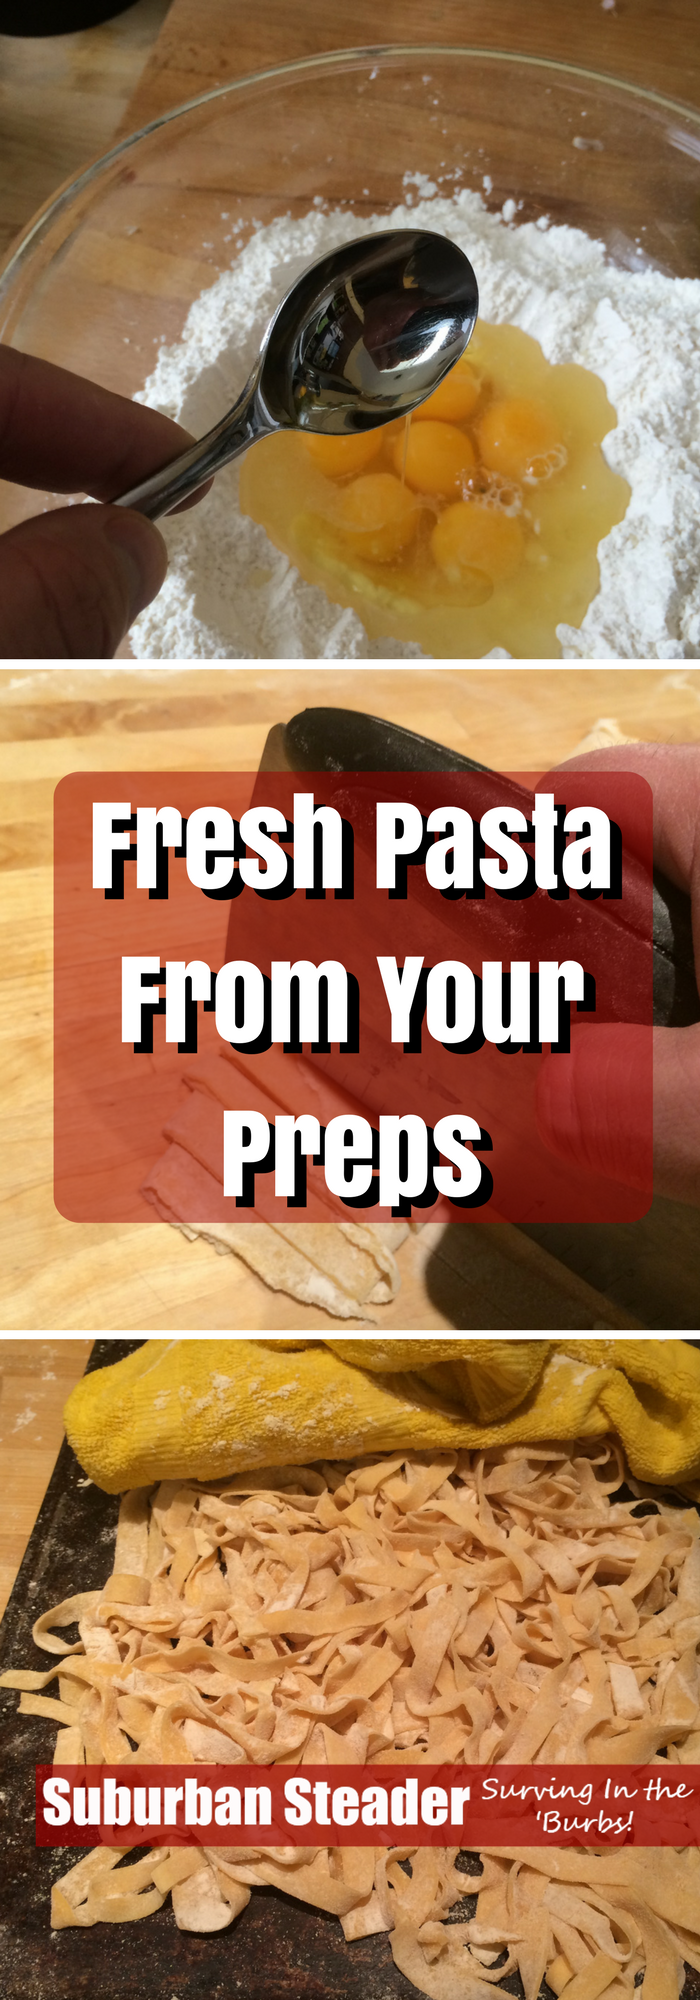
- Pile the flour in a large bowl. Make a large depression in the center.
- Crack the eggs into the center of the depression.
- Add the oil and salt.
- Using a fork, slowly beat the eggs while working in the flour until everything is fully combined.
- If it’s a little dry, add some water. If it’s a little wet, add some flour. This recipe is not an exact science and it’s usually the difference in the size of eggs that causes changes every time you make fresh pasta with this recipe.
- Flour your work surface (it helps if the work surface is cold) and place the dough on it.
- Lightly flour your hands and knead the dough by pushing it away from you with the heel of your hand. Knead away, fold in half, rotate clockwise and repeat. Add flour as required. This step should take about 5min but you want to make sure the dough is elastic and smooth.
- Form the dough into a cylindrical shape and tightly wrap in plastic wrap. Place in the fridge for at least 30 minutes (up to overnight). In a grid down scenario where a refrigerator isn’t available, you can use any cool spot that you have available to you.
- Remove the dough from the refrigerator and cut into 6 small chunks.
- Dust a rolling pin and roll out each chunk into uniformly thick pieces (roughly 1/8″ or less thick).
- Here is where you can diverge. Traditionalists will use a knife to cut the fresh pasta into the desired thickness. Others will use a pasta machine to roll out the pasta and cut it. Both have their advantages – the traditional method is “free” in that all you need is a knife and the pasta machine will give you more uniform pasta and save you some work.
- Uncurl the noodles once their cut, dust with flour and place on a flour-lined baking sheet. Cover the noodles with a damp towel until you’re ready to cook. Repeat until all the chunks are processed
Cooking Fresh Pasta
Fresh pasta cooks much quicker than store-bought dried options.
- Bring a large pot of water to a rolling boil.
- Add a tablespoon of salt and the pasta.
- Stir a bit until the pasta is al-dente. This step should only take 3-4 minutes.
- Drain and serve immediately with your favorite sauce.
Recommendations
Fresh pasta is possibly the easiest thing in the world to make in your kitchen. It is a little time consuming with all the kneading, rolling and cutting but there is no large amount of culinary skill involved. Anyone can do it and it’s a great meal to make with your kids – my daughters L-O-V-E making pasta with me.
You can go a million different places with pasta – anywhere from a traditional marinara to a white wine and butter sauce complimented with capers and lemons, or anywhere in the middle. Fresh pasta can be used for any dish you’d use traditional dried pasta in – but I guarantee the fresh pasta will taste a hundred times better.
We typically will throw in some of our homemade tomato sauce (either fresh or from our stored goods) and spice it up with some fresh spices from Harvest Eating. In addition, a nice wine always goes well with pasta. I’m a sucker for a good Cabernet Sauvignon, but you can definitely go with a quality Chardonnay for dishes that are highlighted by fish or chicken.
Let us know how this recipe works for you! We’d love to see pictures on Facebook!

 Recommendations
 Directions