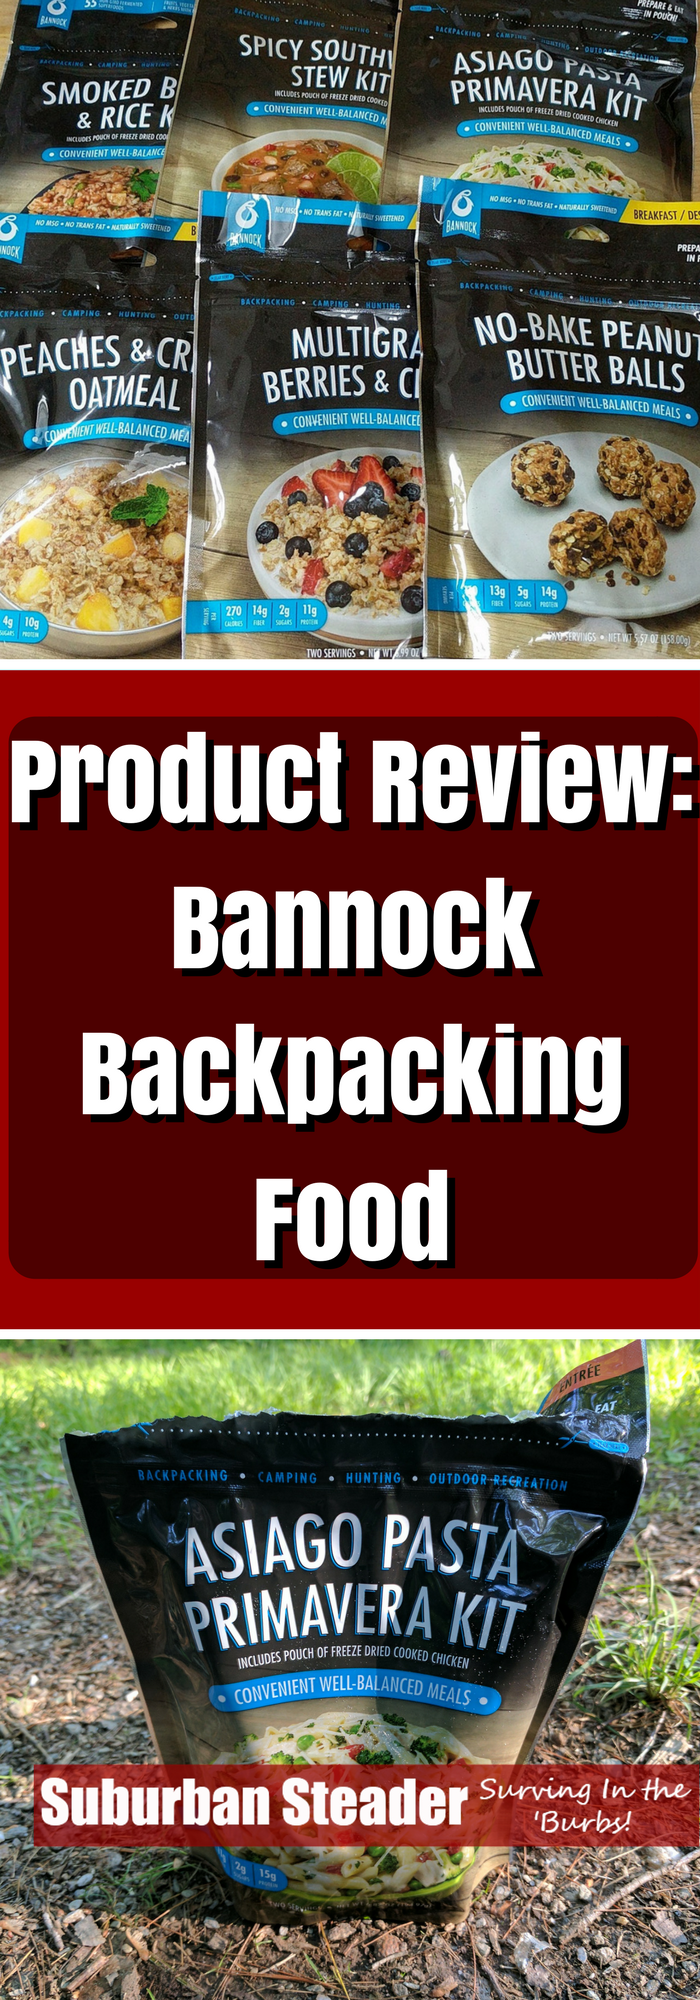
Bannock Backpacking Food Review
The more I get into backpacking, the more I see the similarities to prepping. There’s a need to be prepared for what may come, to plan for what you think might happen and to be self-sufficient. Part of that self-sufficiency is making sure you have adequate food reserves. That’s why I was more than happy to give Bannock Backpacking Food a chance when they approached me about doing a review.
Bannock Backpacking Food – Initial Impressions
Bannock (a line produced by Legacy Food Storage) approached me at a very opportune time. I was planning a small section hike of the Appalachian Trail (AT) and was in the middle of figuring out all my gear and food. Seemed like a perfect opportunity to give this new brand a try.
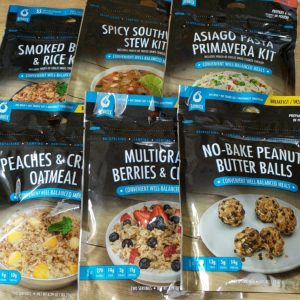
Bannock sent me the following items:
- Multigrain Berries & Cream
- Peaches & Cream Oatmeal
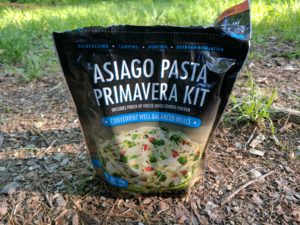
- Asiago Pasta Primavera Kit
- Smoked Bean & Rice Kit
- Spicy Southwest Stew Kit
- No-Bake Peanut Butter Balls
Natural Ingredients
The initial thing I noticed about all of these items was the ingredients. Their ingredients seemed much more natural than what I’m used to with my typical Mountain House backpacking food. Some of the packages were even marked non-GMO which is always nice. The typical backpacking food I get is definitely not that ‘natural.’
Calories Per Ounce
The next test was the most important to me from a backpacking perspective. There’s an old saying in backpacking circles that goes something like this:
Ounces Equal Pounds And Pounds Equal Pain
Backpackers, for the most part, want to carry as little weight as possible. Food and water are areas where we try to cut our weight as much as possible. A gallon of water weighs just over 8lbs and we can’t do anything to change that. We can reduce our food weight by carrying dehydrated food though. We also want to make sure we have sufficient calorie replacement since we’re exerting ourselves all day.
This tradeoff comes down to a calorie per ounce value. Typically, I shoot for food that gives me at least 100 calories for an ounce of weight (packaging included). Ideally, I want foods that are 125 cals/oz. The items Bannock provided me had the following calories per ounce values:
- Multigrain Berries & Cream (88.8 cals/oz)
- Peaches & Cream Oatmeal (92.9 cals/oz)
- Asiago Pasta Primavera Kit (85.9 cals/oz)
- Smoked Bean & Rice Kit (86.4 cals/oz)
- Spicy Southwest Stew Kit (80.6 cals/oz)
- No-Bake Peanut Butter Balls (52.8 cals/oz)
Let’s compare that to some of theMountain House items I typically use:
- MH Biscuits & Gravy (101.6 cals/oz)
- MH Breakfast Skillet (122.8 cals/oz)
- MH Beef Stroganoff (104.2 cals/oz)
- MH Beef Stew (99.1 cals/oz)
As you can see, theMountain House items perform better in this area than the Bannock. Unfortunately, none of the Bannock items get close to the 100 cals/oz threshold.
But How Did They Taste?
OK, so I’ll be carrying more weight for the same caloric intake. Not the end of the world. How do these things taste?
I have to say that I was pleasantly surprised here. I took the Asiago Pasta Primavera Kit on my trip and really enjoyed it. It tasted more “home-cooked” than any backpacking food I’ve tasted to date. I found that the cooking times needed a little longer to get the chicken to the right consistency, but that was probably more me rushing dinner because I was so hungry. The veggies tasted very fresh and the chicken tasted like chicken, not like some processed meat.
I’ve since tried the Smoked Bean & Rice Kit as well as the Spicy Southwest Stew Kit and had similar results. I’m not a big fruit fan so I had the kids try the breakfast packages (Multigrain Berries & Cream and the Peaches & Cream Oatmeal). They didn’t particularly care for the creaminess (we don’t usually do cream in our oatmeal), but they loved the fruit and said it tasted almost like the real thing. I have to say that it smelled pretty good!
Everyone in the family like the No-Bake Peanut Butter Balls.
Would I Recommend Them?
We’ve looked at pros – they taste great and the ingredients are items I recognize – and the cons – they’re heavier than most backpacking food.
This question is really two-fold:
- Do I recommend you use them?
- Will I carry them in the future?
The answer to the first question is yes, I do recommend them. The combination of natural ingredients and great taste make them easy to recommend. There’s nothing like eating a hearty meal at the end of the day and Bannock delivers on that aspect.
The answer to the second question, unfortunately, is that I will not be carrying these going forward. I am very weight conscious when I go backpacking. The low calorie per ounce of each unit makes these items something I’d rather not carry.
I think Bannock has the ability to reduce the packaging size and bring both the volume and calorie per ounce of these items down into a range that is competitive with the more well-known backpacking food brands. If they can do that, I’ll surely reconsider my decision.
I’d also like to see them offer some more flavors, but I’m sure that’s just a matter of growing the business a bit.
What did you think of this review? Have you tried Bannock Backpacking Foods? Let me know your thoughts and experience in the comments below!
 ,
,