1

Urban Farming: No Farm Farming

Many people graduate from college and just sit year after year wondering what their calling is. If you are looking to make a difference in the world and find that the typical 9-to-5 isn’t making the cut, then perhaps it’s time to take a look at farming, specifically urban farming.

“What if I don’t have land?” you might ask. This article will help you bring farming techniques into fruition in areas where space is limited. Permaculture is a large concept at work here and it can run the gamut of everything from composting to water retention systems. Although you may think that your backyard is too small to enact some of the main principles, think again. All of these things can bring you one step closer to farming in your backyard.

Water Harvesting

You may not be building the water terraces of ancient China or the aqueducts of old Peru, but you can still change the dynamic landscape of your own backyard to save water. Consider where you need to water and where rain gathers. If you can divert this natural force and slow it’s descent to the sewer you’ll be better off.

First, let’s tackle the backyard. Taking excess dirt and creating a slope that funnels water to the center of the garden is the best way to take advantage of soil architecture and save rainwater, as well as water from your sprinkler. 

Roof runoff is also worth saving no matter how rare rainfall is in your area. There are a few things to keep in mind when setting up a water cache system like this.

  • Water Quality: Water must be filtered and should be pollutant free. Keep in mind that zinc-aluminum roofing can be dangerous to your health.
  • Do not let your gutters become blocked with leaves. Leaf guard can be expensive, while homemade alternatives are still effective.
  • Regular maintenance is a must. You’ll want to make sure that water is sealed at appropriate times, to protect from development of mosquitoes in warmer months.

Companion Planting

Growing plants that are native to the same continent and cultures together will improve crops survivability. Because these plants have evolved in the same place for many generations, they require the same protection, and in some instances provide shade, nutrients, and ground cover.

You might find your crops being under siege from spider mites or other pests. This guide will illustrate just how to face those problems in an organic way, by using companion plants.
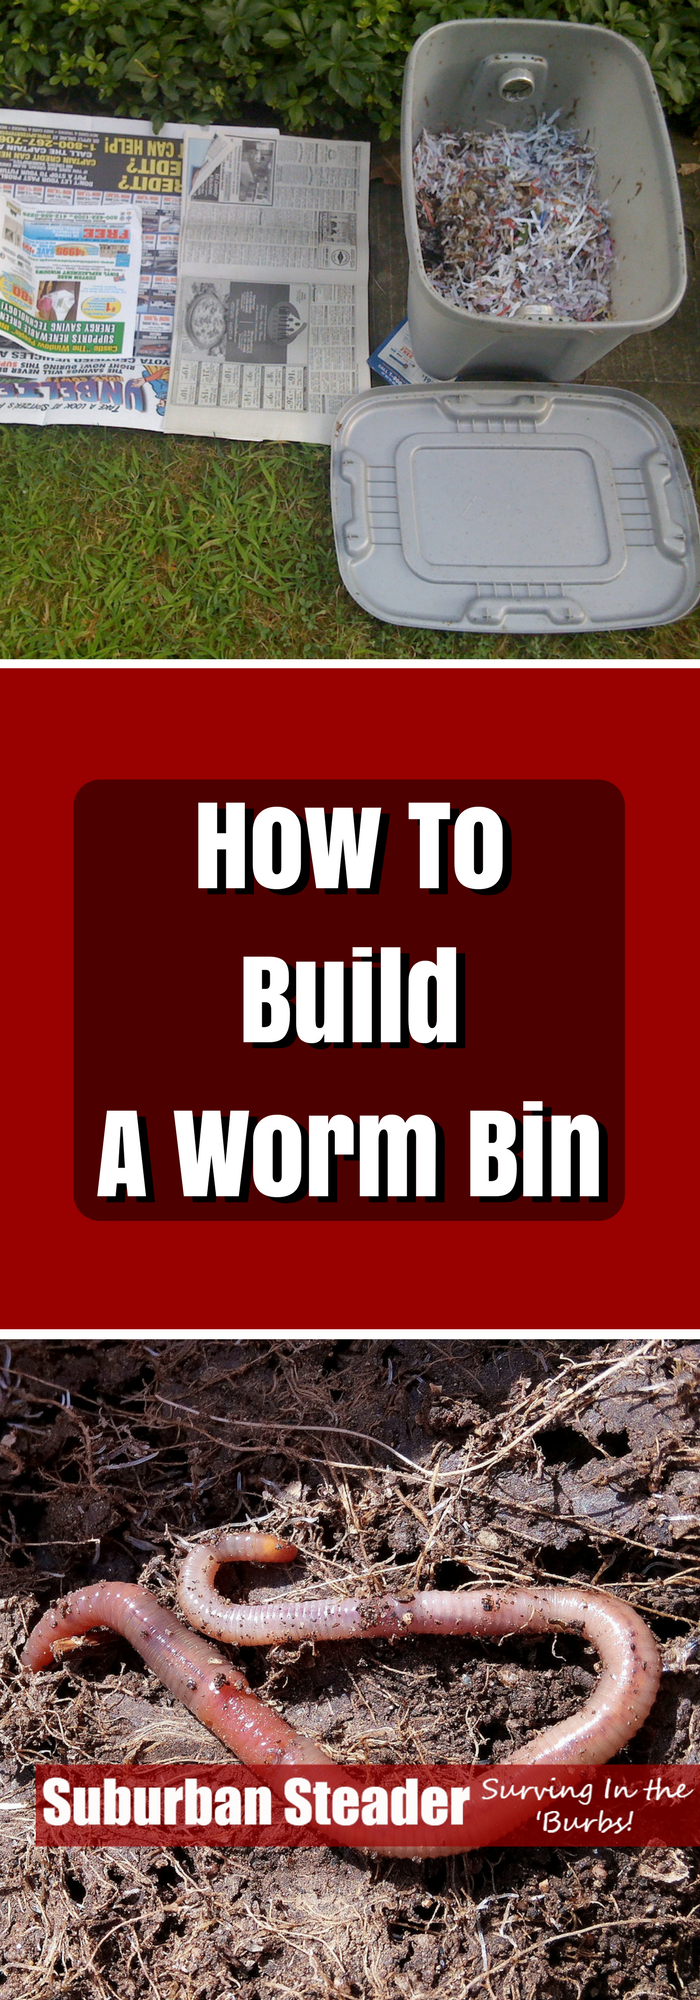
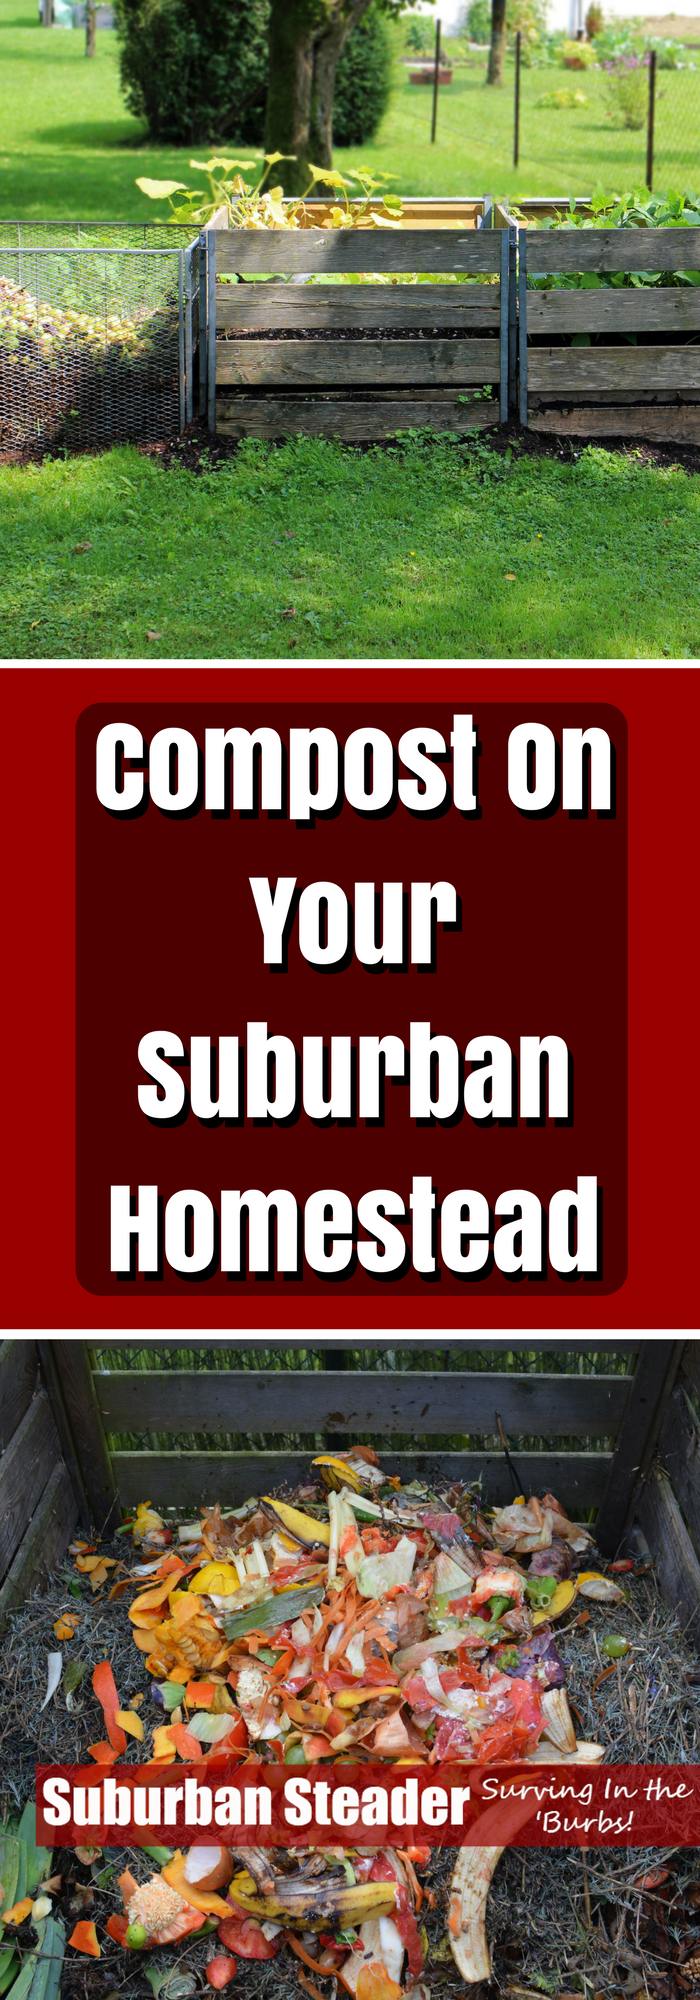
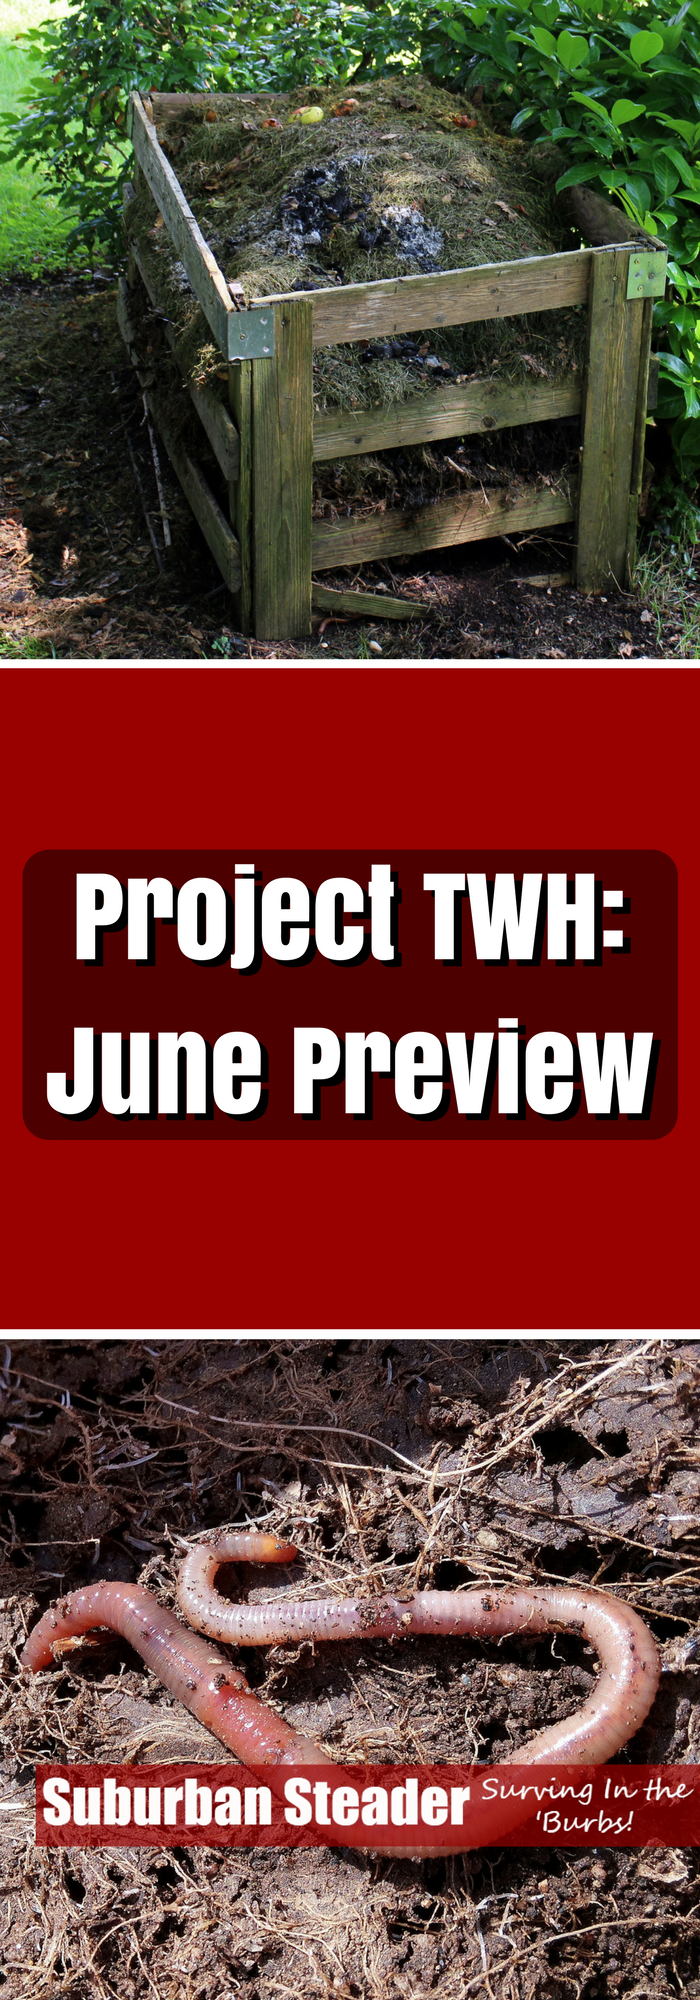
Composting

Composting is central to the farming experience. While we won’t delve completely into the wide world of composting here, there are a few things to remember while at home in the urban setting.

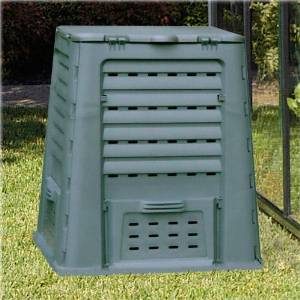
  • Make sure to seal compost bins to avoid confrontation with pets, pests, and neighborly noses.
  • Red Worms are your best friend
  • Save coffee grounds or ask for some from a local business
  • Find a local composting co-op if you don’t have room at home.

Keep in mind that your goal is to return nutrients to the soil as food for crops. You don’t want your backyard turning into a miniature dust bowl after several seasons.

Graywater

This is a topic that can take some getting used to, but with the proper installation you can use the forms of water in your household that are not exposed to human waste to better hydrate the garden. I’ve seen setups where the sink was disconnected and water was free to run into a bucket for later distribution. This comes with its problems of course and is not recommended. But there are designs aplenty for whatever age your home may be. Here are some of the most prominent benefits:

  • More water for use, and less strain on wells or drought stricken areas
  • Less strain on failing septic tank
  • Less energy and chemical use
  • Plants benefit foremost and after water is returned to it’s origin (groundwater) faster
  • Increased awareness of and sensitivity to natural cycles

Poultry & Eggs

Yard pending, you can find a way to install a small to a medium chicken coop or convert a pre-existing shed. The chicken housing must meet several requirements, not only to meet city ordinance but also for the chickens themselves to be happy and fruitful:

  • Chicken feeding is a regular job and requires a solid schedule. An automatic feeder may lessen the burden.
  • Fencing around the coop can be important if you have nosy pets or live in an area rife with predators.
  • Don’t forget the light! Chickens only lay eggs based on daylight cycles. Some lights will also affect the temperature of the coop, which is another important part of keeping chickens healthy and alive.
  • Make sure you have access to the inside so you may clean regularly.

Whether the goal you have in mind is for eggs (quite sustainable) or for poultry, you should find that the coop is an excellent addition to the home, and is one step closer to making you an actual farmer. Treat your chickens well and a healthy product will come along with it.

Position of the Sun         

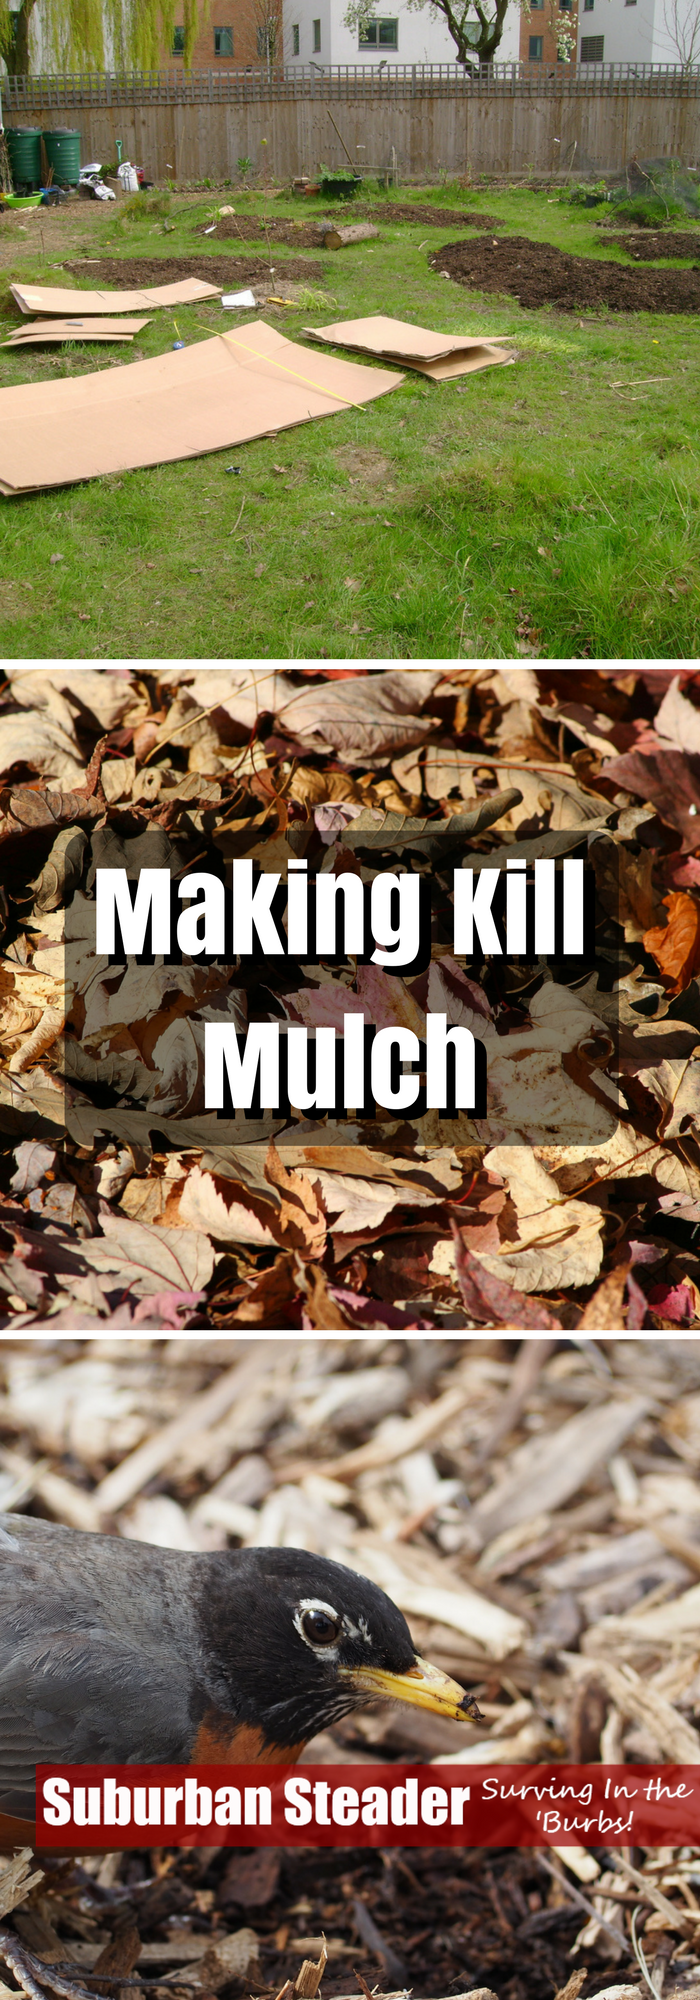
If you aren’t paying attention this could spell disaster for your first year, mostly because you won’t have a second year. Without proper daylight, your crop will never properly flourish, and for some locations, the urbanite may have to do some proper planning. Before making any cuts on the tree linings of the property, make a chart that shows where the sun line falls on your property. In some cases, you’ll have full coverage, but more than likely you’ll have a tree or two in the way. Note the time of year as well, as the sun will shift depending on the season.

After trimming, consider burying the remnants of your tree trimmings to create a Hugelkultur bed. This is a form of composting that uses trees and tree parts to save moisture, contribute nutrients, and reinvigorate the soil. Gather the tree parts and bury them with a layer of nutrient dense material and cover with topsoil and my personal preference of straw.

Urban Farming For All…

This article is only the tip of the iceberg.  Use the following resources to transform your backyard into a farmer’s market contributor, and turn that day job into that of an urban farmer. If all goes well, maybe you’ll make that return back to college for an agricultural education. For now, supplement your income with fresh fruit, vegetables, and stock!

References and Resources for Further Education

Urban Farming


Kitchen Composter: Inexpensive Build For Under The Sink

Winters in the Northeast are cold and snowy.  This year was extreme in both regards, even by our standards.  This kind of weather does not lend itself that well to compost pile access.  Ours was under snow for about two months and frozen solid for even longer.  We built a worm bin in order to keep the soil growing process going.  The problem we ran into was that we were creating more food waste than the worms could handle.  The solution was simple: build a kitchen composter that could hold the food in one place until the worms were ready for it.

Enter the Inexpensive Under The Sink Kitchen Composter!

Kitchen Composter Material List

You should have most of this list kicking around the house.  The only thing you’ll probably need to buy is the odor catching AC filter.

Kitchen Composter Assembly Instructions

  1. Paint the bottom of the container black.  I’d recommend a few coats to make sure no light can get in.
  2. While you’re waiting for the container paint to dry, drill a few holes in the top.  This step will allow air to flow through.  I recommend a 1/4″ diameter drill bit.
  3. Cut the No odor AC filter to fit inside the cover.
  4. Place some hot glue around the edges and and the drilled holes and press the AC filter in place.  Allow to cure.

You’re ready to go with your very own under the sink kitchen composter once everything is dry .

Here’s a short video in case you want to see what I’m talking about:

[youtube_sc url=”V12SEKPlbp8″ width=”586″]

Tips & Recommendations

We’ve been using this kitchen composter around the Suburban Steader homestead for a few weeks now and I have to say that it’s awesome.  We would previously throw our food waste in a bowl on the countertop and then have to bring it to the worm bin or compost pile almost immediately.  In the worst cases, we’d just shove it into the garbage disposal and lose all that great soil building material.

Now we can collect our food scraps over time and let it begin the decomposition stage without worry that flies or smell are going to infest our kitchen.

One suggestion I would highly recommend is lining the kitchen composter with fresh newspaper every time you use it.  As you can imagine, when food begins to decompose, it can stick to the sides of the walls making it difficult to extract later on.  The newspaper will allow you to give the bottom of the kitchen composter one or two swift hits and have everything come flying out.  The newspaper is compostable so adding it to your worm bin or compost pile is no big deal.

Another suggestion is to go with as big of a container as you can fit.  You’ll always have access to your compost pile in the warmer weather, so holding on to decomposing foods for a long time won’t be a problem.  However, when your compost pile is covered in snow, you’re going to be at the mercy of your worms and how fast they can eat and decompose your food scraps.  Having a bigger container allows you to hold more food between feedings and not overwhelm you worm bin.  And we all know the stink and mess an overwhelmed worm bin can cause.

Under The Sink Kitchen Composter

How did your Under The Sink Kitchen Composter come out?  Be sure to share pictures on Facebook!


6 Skills Every Suburban Homesteader Needs

Suburban homesteader.  What comes to mind when you hear that term?  Personally, I think of person who lives in the typical American suburbs, they’re probably married with a few kids.  Maybe a dog.  Their land isn’t huge, but it’s being transformed into something that’s functional and they’re very proud of that fact.  The household quite possibly runs on two incomes and free-time is scarce commodity given all the social obligations they have.  Does this description sound like you?  Even if there are a few differences with your situation, you can relate to it, right?  Then you’re a suburban homesteader.

We’ve identified you as a suburban homesteader.  Awesome!  But what now?  What do you need to do to make this life work?  Well, as luck would have it, I’ve laid out six skills you need to improve your abilities and become the suburban homesteader you always wanted to be:

1. Monthly Financial Tracking

I’ve spoken before about how important financial independence is to the suburban homesteader.  Those guidelines still hold true.  I want to see you free from the shackles of debt.  Even more so, I want you to track your finances and know what your incomes and expenses are.  Treating your suburban homestead like a business by looking at the financials of your home every month will easily let you see the areas that are going to become problems before they do.  Are you spending too much money on dining out? Has your income dipped in the last few months? Are you spending more on a certain area of life than you were before? Why?

All these answers are answered in the monthly financial review.  Suburban homesteaders typically are folks who rely on two incomes and have a vast array of family activities in addition to the homestead which makes it easier to fall into debt.  Keeping track of your finances on a monthly basis will help you keep your debt from rising and allow you to track the costs of all these activities.

2. Gardening

Most people think of gardens or farms when they hear the word homesteading.  You more than likely will not have room for a farm in suburban homesteading so you need to concentrate on gardening.  The simple act of starting a garden can do so many things for you.  First and foremost, you will provide food for your family at reduced cost to what you would pay at the supermarket.  Second, the food you will be providing will be fresher and healthier than what you are buying.  Even if you buy GMO-free organic vegetables and fruits, they will not taste as fresh and vibrant as something you pull out of the ground or harvest moments before eating.  Third, and probably most important, you’ll be developing a functional skill that will make you more self-sufficient.  And, to top it all off, gardening is a great family activity that everyone can take part in.

Get your garden going today!

3. Composting

The ability to produce your own compost is paramount to a healthy garden.  Your soil’s health is an investment in your garden and, in turn, an investment in your family’s health.  And, truth be told, composting is not that hard.  Take your table scraps, yard waste and whatever other organic matter you can find and throw it in a pile.  Keep turning it every so often as you continue to add to it.  Before long, you’ll have thick, dark compost that your vegetables will love you for.  We have been feeding our compost pile here on the Suburban Steader Homestead for about a year and we probably have 2-3 cubic yards of compost at this point.  It can be done and is easy to do.  Don’t worry about perfecting the balance of greens and browns.  Just go at it and you’ll learn what works best!

4. Handyman Capability

By definition, you live in the suburbs if you’re a suburban homesteader.  And that means ‘fix-it’ folks are very prevalent.  Plumbers, electricians, contractors, gardeners, mechanics and appliance repairmen are all willing to take your hard-earned money.  Most of these folks are quite skilled at what they do and will probably do the job quicker than you.  But, will they do it better than you?  The answer is probably not.  You can can find out how to fix just about anything on YouTube if you’re willing to spend a little time learning.  You might need some new tools and extra material for when you mess up the first time, but you can develop yourself into a pretty proficient handyman if you want to.

I don’t want you to get me wrong here – being the son of a plumber, I can absolutely tell you there are times when you should call in the professionals.  But most of the fixes around your house can be completed with a little learning, trial, failure and elbow grease.  There’s so many benefits to improving your handyman skills: saving money, developing a talent and having the confidence to know that you can conquer almost any problem your home throws at you!

5. Project Management Skills

I can already hear the groans on this one.  First, I want you to stop thinking about the folks at work who are running around with Gantt charts and work breakdown structures (FYI, I am a project manager at work, so I am one of those people).  When I talk about project management skills around the suburban homestead, I’m talking more about thinking through a project and trying to corral it a bit before jumping in full force.  Let’s take for instance a fairly small project of building a garden box.  The project management skills you’d want to use here include the following:

  1. Material Cost Estimate: Think about all the materials you’re going to use including wood, fasteners, fill material (soil, compost, etc) and any new tools you need for the job.  Can you afford this project right now (go back to the first skill we talked about)?
  2. Project Duration Estimate: Is this a project you can finish on a Saturday?  Is it a two-day job?  With that information, you can then look at your calendar and figure out when a good time to start it would be.  Maybe your kids have a soccer tournament this weekend, but you’re free next weekend.  Plan accordingly.
  3. What’s My Return On Investment (ROI)?: Why are you building this garden box? Do you need the extra space? Is the money your going to spend on it, not to mention your time, going to be compensated by the final product?

None of these things are terribly difficult to think about but it’s important that the suburban homesteader (you!) is spending their time and money as wisely as possible.

Oh, and just so you know, I have used a Gantt chart for projects around the house ranging from remodelling to cooking Thanksgiving dinner – and they all went off flawlessly.  So, maybe it isn’t a bad skill to work on as well…

6. Determination and Self-Motivation

These are the least tangible but, arguably, most important skills a suburban homesteader needs to succeed.  The reality of life on a suburban homestead is that things are not going to always follow plan.  Money is going to get tight at times, the family pet is going to get sick, Johnny or Jane is going to break their arm, Mom or Dad is going to get sick, the boiler is going to bust, etc.  Life is going to happen.  Having a determination and self-motivation to keep going despite these setbacks is the most important skill a suburban homesteader can develop for success. So, to invoke a few over-played clichés, keep your head up and keep your eyes on the prize.  Know what your goal is and shoot higher.  You’re bound to flounder a bit, but by aiming higher you’ll increase your odds or achieving all that you wanted to achieve.

Become The Suburban Homesteader You Always Wanted To Be

So there you have it – 6 skills every suburban homesteader needs to succeed at this game.  Financial tracking, gardening, composting, handyman skills, project management, determination and self-motivation.  You’ll be a better suburban homesteader and a better person if you spend the time to develop and hone these skills .

6 Skills Every Suburban Homesteader Needs


How To Build A Worm Bin

How would you describe the typical suburban homesteader family?  More than likely you’re looking at two parents, a few kids, maybe a dog or a cat, two full-time jobs, soccer practice, ballet recitals…the works!  With that kind of schedule, how are you going to fit in managing livestock on your suburban homestead?  I’ve got the answer for you – worms!  And to raise worms, you’re gonna need a worm bed!

In today’s post, we’re going to explain why you’d want to raise worms and how to build a worm bin.  This information is very similar to what you’d find in Anna Hess’ great book entitled The Weekend Homesteader.  If you don’t already have a copy, I highly recommend you pick one up.  Every suburban homesteader should have one!

Why Worms?

Raising worms is all about the quality of the finished product, not necessarily the quantity.  Anna Hess explains it best:

…your worm bin isn’t going to produce gobs of compost…an under-the-sink worm bin will churn out enough nutrients for a potted lemon tree

But, remember that, despite how much (or little) you get in terms of worm output, the quality is super high.  Worm casting a very high in micronutrients and will help your food grow better than just about any other compost available.

Remember that commercial that used to say “A little dab’ll do ya”?  Well, that’s worm castings and tea in a nutshell.  Adding a small amount will show tremendous results to your garden.  That fact alone makes growing worms a worthwhile endeavor for the suburban homesteader.

Gathering Your Supplies

There’s nothing particular outrageous required to make a worm bin.  You’ll need the following:

Plastic Storage Bins

The Plastic Storage bins should be somewhere in the 8-10 gallon range and can usually be found for around $5 a piece.  Make sure both of the ones you are using are the same size.

Sheet of Cardboard

The sheet of cardboard needs to be big enough to cover the top of one of the bins.

Bedding

Worms love shredded newspaper for bedding.  If you have a shredder that creates strips, you’re all set.  The cross-shredders cut the paper into pieces that are too small.  In the absence of shredded newspaper, you can use hand-shredded paper, torn-up cardboard or egg cartons, fallen leaves, straw, coconut coir and peat moss.  Each of these have their downfalls, mostly that they’ll mat down in the bin too much when they get wet.

Worms

Let me say this very simple – we’re not raising earthworms.  Compost worms are known as red wrigglers, redworms or Eisenia fetida.  You might be able to find these guys living in horse manure, but you’re more than likely going to have to purchase them.  You can find some on Amazon.com or at Vermicomposters.com.  You’ll want about 2 lbs of worms for your bin, but could start with 1 lbs and let them grow to fill the space.

Soil

Nothing special here – a few scoops from your garden thrown into the bin to help the worms grind up their food.

Making The Worm Bin

This process is incredibly easy and even those of you who are mechanically challenged can do this project.  Here we go:

  1. Soak your bedding in water for a few hours.  It needs to be soaked, but not dripping.
  2. While the bedding is soaking, use the drill and drill bit to put about 10 holes in the cover and about 8-10 holes in each wall of one of the containers.  The bottom of the container should have about 20 holes.  You can use the ruler and marker, like I would, to put the holes in a nice, equally space pattern or simply do it by eye.  Either way, you want a fairly even distribution of holes across each face.
  3. Place the bin with the holes inside the bin without any holes.
  4. Place the saturated bedding in the bin with the holes and add your soil.  Mix well.
  5. Use the scissors to cut the cardboard so it sits flush with the top of the bedding.  This addition will keep the worms dark and moist.
  6. Pour the worms in (including any bedding they came with) and replace the cardboard.
  7. Place the plastic lid on top and your done!

Caring For Your Worms

Much like any livestock, worms do take a little bit of work to care for.  But, unlike most livestock, they’re not going to require daily attention.

Feeding

You’ll want to let the worms settle for a few days after you finish building the worm bin.  At that point, you can add food scraps on a schedule that works for you – daily, weekly, whatever.  Just make sure you are placing the scraps in different areas of the bin to promote the worms moving around.  You can feed them just about anything you eat, although you’ll want to avoid citrus peels, bread, meat and oil.  Citrus can be toxic in larger quantities.  Likewise, bread, meat and oil will increase your chances of a pungent smell.  Make sure you add a handful of fresh bedding eat time you feed them to cover up the scraps and keep the chance of smell and fruit flies down.

Overfeeding

Overfeeding is the biggest cause of worm bin failure.  On a daily basis, a pound of worms can process roughly one-half pound of food scraps.  That means your two-pound of worms can handle about seven pounds of food scraps per week.  Anything above that should make its way to your compost pile.  You do have a compost pile, right?

Bedding

The only care you need to give your worms besides feeding them is keeping their bedding moist, but not sopping wet.  Likewise, you might find your bin is too dry.  Either way, the way to tell something is wrong in your worm bin is to see how many worms are escaping to the lower bin.  A few worms showing up there every week is normal.  Anything more than that and you’ll need to investigate your worm bin’s conditions and see if you need to add moisture or dry bedding to reduce moisture.

As mentioned previously, stink and fruit flies can also be a problem.  But, in the end, almost every worm bin problem can be treated by adding new layers of bedding (moist or dry, depending on your problem) and never having food scraps above the bedding.  Reducing or stopping feeding for a few weeks during this process also helps.

Harvesting Tea and Castings

Harvesting worm bin tea is super easy.  Simply remove the inner container and pour the worm bin tea from the outer container into a third container.  Replace the inner container and you’re done.  Now you can apply the worm bin tea to your favorite plants for a quick boost of fertilizer.

It’s time to harvest the castings when the contents of the inner container begin to look more like compost and less like bedding and food scraps.  Get a third container, drill holes in it like described above, place some fresh bedding and food scraps in it and then place this new container on top of the original inner container.  Place the cardboard and lid on top of this new, third container.  The worms will work their way into the new bin over a week or two.

When applying the casting to your garden, remember the following:

  • Your soil should be made of no more than 20% castings
  • Casting are best used in your vegetable garden
  • Castings should be used when fresh and damp

Conclusion

Building a worm bin is an easy task that will result in big returns on your suburban homestead.  You’ll have a recycling center right in your house, as well as a compost creator and a fertilization machine.  Your return on investment is terrific with this project so get after it!

Let us know in the comments how this worked out for you!


How To Build A Worm Bin

photo credit: AxsDeny via photopin cc

How To Build A Worm Bin


Compost On Your Suburban Homestead

What comes to mind when you hear the word compost? Do you think of some stinky pile where food scraps get thrown and flies live? If that’s what comes to mind then you need to know something – you’re doing it wrong! Compost is a decidedly simple yet effective process that anyone on a small suburban lot can partake in.  You’ll see incredible benefits in your garden once you take the plunge into making good compost.

Compost Science

The ‘art’ of making compost is actually quite easy – it’s less art and science and more…well, just doing. You need to make sure you have the right ingredients and keep them moist (not wet). You also need to make sure you’re turning it often to keep the heat up inside the pile. And, while it’s a very forgiving process, it’s also good to have an understanding of what goes into compost.

Temperature

Temperature can be a fickle creature in the world of compost. On one hand, an elevated temperature can help you. Keeping the compost at a minimum of 104°F for five days (hitting 131°F for five hours during that time) will make sure that all the weed seeds and pathogens in your compost are killed. Likewise, if you get too hot it’s not good either. For example, if you hit 160°F, all the microorganisms – basically bacteria and fungi – that make the compost action happen will die.

Heat is caused in the compost pile when the microorganisms begin to decompose the plant material you’ve included. You are most likely not going to have to cool down your compost pile (it’s pretty hard to get it that hot). But, if you do see smoke on your compost pile, all you have to do is add water to cool it down. Adding a mixture of high carbon ingredients (dead leaves are great) after the water is a good idea.

Browns and Greens

If you remember the post about Mulch and Your Suburban Homestead, you’ll remember how we talked about the C:N ratio. This ratio is commonly thought of as the ratio of browns to greens. The table below gives you a few examples of browns and greens:

Browns Greens
Autumn Leaves Grass Clippings
Wood Chips Fruit/Veggie Scraps
Sawdust Coffee Grounds
Shredded Paper Manure


The easy way to remember which is which is to remember that greens are typically moist and colorful (with the exception of coffee grounds and manure – both of which are moist).  Everything else is browns.

You want to start your pile at a rough C:N ratio of 30:1 meaning your browns are 30x more prevalent than your greens.  This scenario will whittle down to roughly 10:1 or 15:1 as the decomposition occurs.

An ammonia type smell coming from your compost pile means you have too many greens.  Likewise, if you don’t see a lot of decomposition action going on, you’re probably too high on the browns.

If you’re the analytical type, check out this compost calculator to see how well you are doing.

Compost On Your Suburban HomesteadParticle Size and Shape

Believe it or not, size and shape greatly influence your compost.  As a rule of thumb, the smaller the better.  The microorganism can more easily digest small pieces.  A good example of this phenomenon is an apple.  We put a whole apple in our compost pile and then chopped one into small pieces and placed it in there as well.  After a certain amount of time, the small pieces were barely recognizable and the whole apple was more or less intact.

Remember that shape is equally important.  If you have material that is so small that it can mat together when wet – whole sheets of paper, full lettuce leaves, or very finely ground up food – the air and water will not be able to get in and help the microorganisms work their magic.

Aeration

As I eluded to above, air is critical to the decomposition process in a compost pile.  Much like humans, microorganisms take in oxygen and expel carbon dioxide.  If these little guys can get oxygen, they’ll eventually be smothered and replaced with anaerobic microorganisms (anaerobic = no oxygen).  These guys stink (literally) and don’t decompose your compost nearly as well as their aerobic counterparts.

So how do you aerate your compost pile?  Easy – keep it open to the air and turn it often.

Moisture

Again, the microorganisms are like you and I in that they also need moisture to live.  But, much like temperature, moisture can be a fickle situation.  Too little moisture and your microorganisms will perish.  Too much and they’ll drowned; being replaced by their anaerobic counterparts.

You can tell if your compost pile is sufficiently moist by grabbing a handful of the compost.  If it feels like a wrung-out sponge when you squeeze it, it’s good.  For the most part, you won’t have to worry about this problem as your greens and rainfall will give the pile enough moisture.

Turning

Turning is one of those things that people have differing opinions on.  Some folks say that nature does this kind of process without turning a forest floor.  And they’re completely correct.  But those people are usually more patient and willing to wait a year or more for a compost pile to be ready.

Those of us who are a bit more impatient will turn the pile on occasion.  Turning the pile provides a few benefits to the compost pile.  First, the temperature at the middle of the pile is always going to be greatest so turning it allows for a more thorough compost.  Second, turning the compost pile helps aerate it and break up clumps that may shed water.

We here at the Suburban Steader Homestead turn our pile because we believe it provides a better quality compost in a shorter time.

Compost On Your Suburban HomesteadCompost Bins

Good news – science class is over!  Now we’re getting into the hands-on part of this post.

The question also becomes: What should I make my compost in?

My answer is usually a simple Nothing.

To be perfectly frank, the compost pile on the Suburban Steader Homestead is just a pile on the ground.  We add our table scraps, scrapped paper, straw, etc to it and turn it on occasion.  We’ll water it during especially dry spells but those are far and few between considering where we live.

But, you may not want to have a compost pile just laying on your property somewhere so let’s talk about what you can do:

Pallet Compost Bin

This concept is very simple.  Make a four-sided area out of wooden pallets and put some hinges on it so you can open up one pallet.  Now make another one next to it in the same manner.  Once one bin is full, use a pitchfork to move it to the second bin.  This movement will aerate the compost pile for ‘finishing’ in the second bin.  You can now start a new pile in the first bin.  By the time you’ve filled the first bin again, the second bin material should be ready to use.

Compost Tumblers

You can either buy these at your local big box store or make one out of a plastic 55-gallon drum (with a cover) and a pipe.  Put the pipe through the barrel length-wise so the barrel can spin around it and support the pipe with a wooden frame.  Now all you have to do is cut and opening in the barrel – make sure you can close it again – that you can both add material and retrieve your compost from.  Now all you have to do is add material and give it a spin.  These aerate your compost quite well and generally produce quality compost at a faster rate.  The problem is that the amount you produce is significantly smaller than what you can with a pallet bin or pile situation.

Using Compost In Your Garden

Using compost in your garden is soooo simple.  Follow these three rules:

  1. Pull back mulch
  2. Apply compost
  3. Reapply mulch

That’s it.  Following these simple will help build up the health of your soil.  The sponge-like capability of the compost will retain moisture in the garden, the nutrients will attract earthworms which will work the compost deeper into your garden.  Pretty soon your soil will be darker and richer with a higher level of microorganisms.

Wrap Up

Compost is a wonderfully easy and inexpensive tool that every suburban homesteader should have in their toolbox.  While there’s a plethora of science behind, the premise is pretty simple.  Throw some browns and greens together, add moisture and oxygen, turn it occasionally and get out of the way.  Nature will do the rest of the work.

You’ll see incredible benefits in your garden and you’ll enjoy knowing that your soil is getting more and more fertile which means you can grow better and better produce.  Everyone wins!

Additional Resources

Please let us know any tips you have for making compost in the comments or on our Facebook Page.

Compost On Your Suburban Homestead

Compost On Your Suburban Homestead


June Preview – Project TWH

First, let me apologize. The end of May and June were a crazy time around the Suburban Steader Homestead. I don’t really feel like going into detail, but a lot of family issues came up. Long story short, everyone is happy and healthy(er) now, so we’re moving on. And, while it’s early June, we’re going to continue with the Project TWH and discuss the June Preview.

As an aside, my goal is to write about both the June and July topics this month in hopes of getting caught up. If it spills a little into August, so be it, but please know that I am committed to this discussion and believe it’s beneficial for both my readers and myself.

In what seems to be a theme lately, the June Preview of Project TWH is a mismatch of topics. Some of the topics are straight-up homesteading related. Others are more suburban homestead related and can be related to a general approach for bettering your life.

As usual, we’ll be referencing The Weekend Homesteader throughout this month. In fact, our four main articles for the month will be centered around the four topics Anna Hess outlines for June:

  • Compost
  • Worm Bins
  • Seasoning
  • Your Real Hourly Wage

Compost

  • Goal: Build a compost pile
  • Cost: $0-50
  • Time: 1-3hrs
  • Difficulty: Medium
  • Kid-Friendly: Yes

Compost – the lifeblood of a garden. Well, maybe that’s water, but you get the point. We’ll spend a good amount of time talking about the science behind compost and how to create it. Not sure what browns and green are? Should you turn or aerate your compost? Do you need to water it? Don’t worry about it because we will talk about all these topics and more. We’ll also get a little into how to store or contain your compost with bins and store-bought systems.

Worm Bins

  • Goal: Build an under-the-sink worm bin
  • Cost: $35-100
  • Time: 1-2hrs
  • Difficulty: Medium
  • Kid-Friendly: Yes

Yup, you hear that right. Worms! And we’re going to teach you how to build a worm bin to grow them! Well, the purpose of the worm bin isn’t really to grow worms, it’s to produce worm casting and worm tea for composting and fertilization needs. This post will be a kind of “How-To” in that we’ll walk you through building a worm bin and getting started with growing a worm colony. We’ll talk about what to do with the by-products of your bin and wrap up with a list of resources to get started on this most interesting adventure in suburban homesteading

Seasoning

  • Goal: Expand your culinary horizons by trying out new spices and herbs
  • Cost: $0-10
  • Time: 1-2hrs
  • Difficulty: Easy
  • Kid-Friendly: Yes

The first two posts for this month will concentrate on helping your garden grow and this post will give you some advice on what to do with its product. When you think about it, we garden and raise animals on our suburban homestead for one reason – to feed ourselves! Seasoning, however, makes this goal that much more interesting. Herbs and spices add whole new level of taste, texture and nutritional input to your diet. We’ll talk about the basic herbs and spices, how to use them in your cooking and where you might want to try experimenting with ‘off the beaten path’ herbs and spices.

Your Real Hourly Wage

  • Goal: Discover the true value of your time
  • Cost: $0
  • Time: 1-2hrs
  • Difficulty: Easy
  • Kid-Friendly: No

It’s probably not a stretch to assume that, as a suburban homesteader, you probably live in the (gasp!) suburbs. That being said, it’s probably safe to assume that you don’t own enough land to be completely self-sufficient. That means that one of you (at least) must have a full-time job. And I bet you can either tell me how much you get paid annually or per hour. But is that really what you make? In this post, we’ll spend some time talking about how to calculate your real hourly wage and what to do with those numbers. This article and it’s tasks will be an interesting introspective activity for you; I expect it will really get you thinking about what’s important to you and what isn’t.

Conclusion

So there you have it, the June Preview of Project TWH. As usual, it’s going to be an eclectic and busy month. There are some hands on activities as well as some non-gardening activities – this blog is about suburban homesteading after all and gardening is just one subset of that. I’m definitely interested in a few of the article this month – worm bins and real hourly wage especially. So sit back, enjoy a cup of coffee and join us on our suburban homesteading journey in June.

Like what we’re doing here? How about letting us know in the comments or on Facebook?

June Preview - Project TWH


Kill Mulch – Finally Getting Your Hands Dirty!

Finally! A part of Project TWH that actually involves something other than planning!

Let’s get your hands dirty!

Kill mulch, at its simplest, is a way to use the existing organic matter on the ground as nutrients for your new crops. The process basically kills (hence the name) all the living plants, grass, weeds, etc and spreads their nutrients into the soil through decomposition.

In this quick article, I’ll explain what kill mulch is, how it works and how to get it going on your suburban homestead. As always, I’ll take direction from Anna Hess in her book The Weekend Homesteader as well as throw in my two cents where appropriate.

What Is Kill Mulch?

I know I said kill mulch is a way of using existing organic matter as nutrients for your new crops. And that statement is a 100% true…it’s also quite vague.

You’re probably thinking “OK, so I’m using something that is/was growing on my land to provide nutrients for something new that’s going to grow on my land. Cool. But how?

Great question – the premise behind kill mulch is that it blocks the light from reaching grass and weeds, therefore killing them. The plants then die and rot in place producing a nutrient dense soil for future plantings.

How to Build Kill Mulch

Kill mulch – sometimes referred to as sheet mulch or lasagna mulch – is achieved by layering various substances.

You want to start with a compost. One that may contain weed seeds is permitted here. Next is a thick layer of light blocker – one layer of corrugated cardboard or a layer of twelve (minimum) newspaper sheets will do the trick.

Next, add a thick layer of weed-free compost. It is important that this layer is both thick and weed free. Remember that your plants’ will keep their roots in this layer for the first month or two until the cardboard or newspaper is broken down.

Finally, finish off the kill mulch with a layer of mulch – grass clippings or straw are perfect.

Why You Should Use Kill Mulch

Kill mulch’s biggest benefit is that it is a no-till approach. Aside from the labor involved in tilling a garden, tilling also has many drawbacks:

  • Erosion – Tilled soil can blow or wash away easily causing you to lose soil and reducing your garden’s fertility.
  • Loss of Soil Microorganisms – Bacteria and fungi are your friends! These wonderful items are important for plant growth and typically reside in the top three inches of soil. Tilling will destroy fungi-networks and move bacteria and fungi into different depths of the soil.
  • Increased Weeds – While a freshly tilled garden looks great at first, what you’re not seeing is the weed seeds that have moved to the top and are ready to sprout!
  • Soil Compaction – After that fluffy soil sees rain, it’ll compact down tight. Roots, seedlings and water will all have a tough time penetrating it at this point.

Wrap-Up On Kill Mulch

There’s the down and dirty on kill mulch. It’s a very effective process and, if done correctly, will result in some of the most fertile soil you can produce.

I used this approach, along with a woody bed/hugelkultur approach, on my new garden bed.

I laid down a little bit of compost and then dropped in layers and layers of newspaper to block the light getting to the grass underneath. The paper was then soaked endlessly – I left a hose on it for a couple of hours and allowed it to stay outside during rainstorms for a few weeks.

After that, I placed a thick (probably 6-10 inches) layer of wood down before filling the rest of the box with topsoil (I didn’t have enough compost). It will be interesting to see how the soil does in this area.

Please let us know any tips you have for building kill mulch in the comments or on our Facebook Page.

photo credit: London Permaculture via photopin cc

Kill Mulch