An Introduction To Dutch Oven Cooking
To the uninitiated the Dutch Oven is nothing more than a big heavy black pot, but to those in the know it is a wondrous tool that opens up a world of outdoor cooking possibilities. Besides the obvious soups and stews, a Dutch Oven aficionado can roast meats, bake breads, and even craft fairly complex desserts. In fact, anything that can be cooked in a conventional oven or slow cooker can be duplicated in a Dutch Oven. It might take a bit more work, but the effort is worth it!
The History Of Dutch Oven Cooking
The Dutch Oven, in its most basic form, has been with us for a long time. Initially the Dutch (go figure) came up with a method of using dry sand molds to greatly increase the smoothness of their cast iron cooking vessels. This advancement attracted the attention of an Englishman named Abraham Darby. Darby traveled to the Netherlands to learn the new method. He eventually brought it back to England where he patented a process similar to the one the Dutch were doing. These cooking vessels made their way to the New World but the name Dutch Oven stuck for good. Three centuries later we are still using the same basic technology!
In North America, the Dutch Oven underwent a few changes. The familiar legs, to hold it above the coals, were added as well as the flange which keeps the hot coals securely on the top. The Americans so embraced the Dutch Oven that it became the quintessential cooking utensil and headed west with the pioneers as they set out to settle a continent. From Lewis and Clark, to the Western settlers, to the cowboys on the range, everywhere the Americans went so did the Dutch Oven. It was those hardy individuals that mastered the big black pot and proved its versatility on the trail.
Essential Items
Before you can jump into the world of Dutch Oven Cooking you will need a few things. An actual Dutch Oven comes to mind first but there are several items that will make your first foray into Dutch Oven Cooking a much more enjoyable experience!
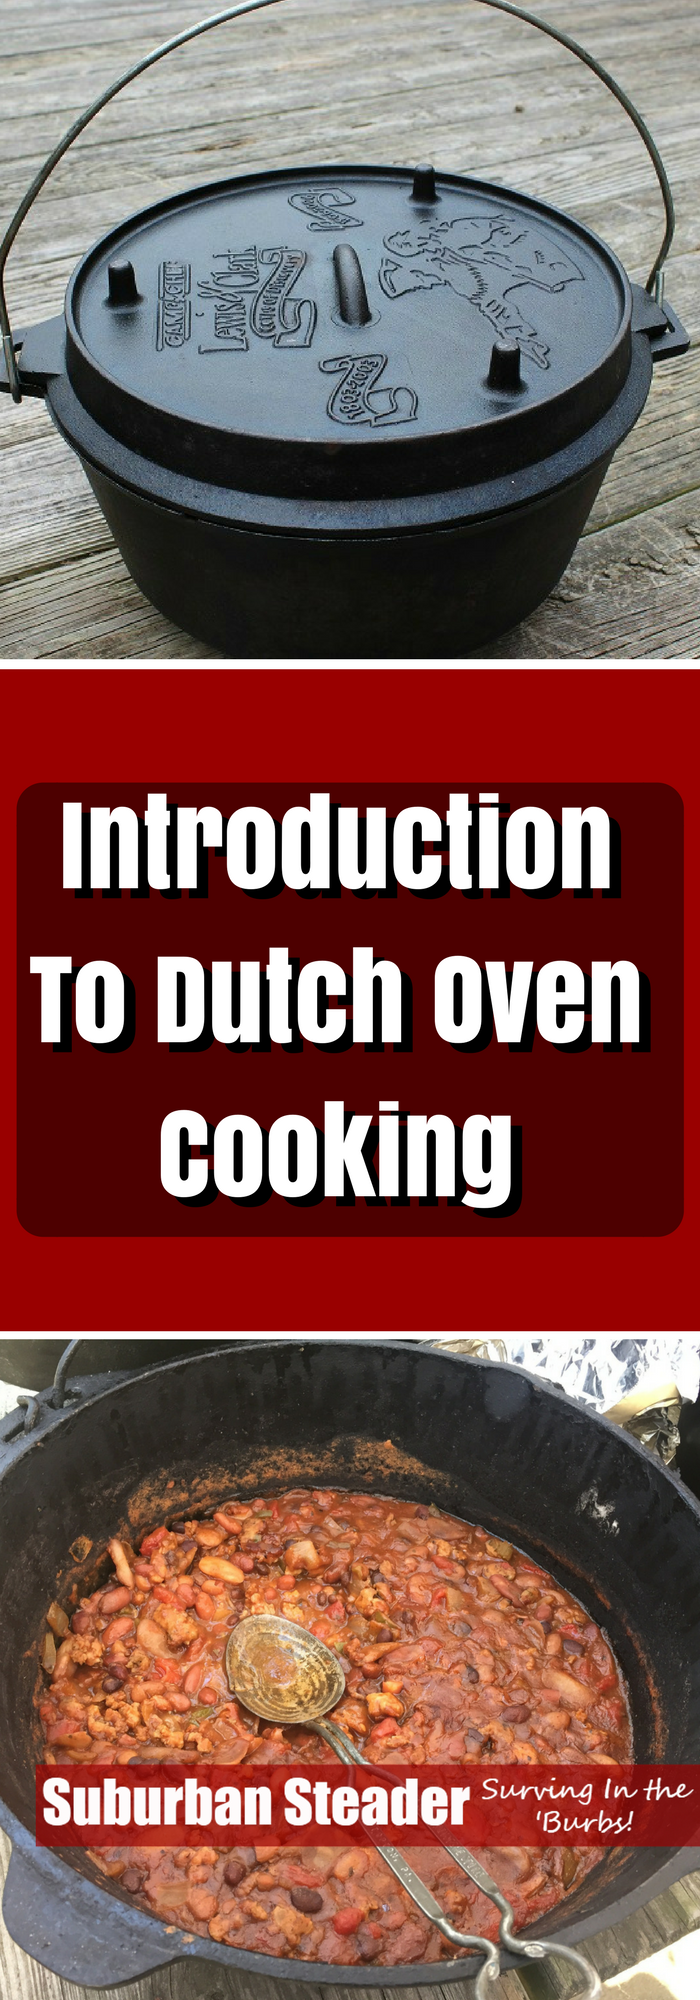
- Dutch Oven – A 10-inch Dutch Oven is a good starting point. The big 14-inch Dutch Ovens may be cool but unless you are going to be feeding a small army or doing heavy duty baking they are just to big (and heavy) for daily duty.
- Charcoal Chimney – Once you embrace Dutch Oven Cooking you will find yourself using a lot of charcoal and really appreciating having hot coals at the ready. The charcoal chimney gives you an easy supply of hot coals and as a bonus you won’t burn your eyebrows off fooling around with lighter fluid!
- Welding Gloves – These may seem a little bit “out there” but you will be dealing with a 400-500oF hunk of cast iron and they are perfect for avoiding disfiguring burns.
- Long Handled Utensils – Like with the welding gloves these are a comfort item. Being able to keep your delicate hands away from the blistering heat is a good idea.
- Dutch Oven Table – If you decide to get serious about Dutch Oven Cooking adding a dedicated Dutch Oven Table to your arsenal is a good idea. Getting up out of the dirt is good for the back and the knees. Dutch Oven Cooking should be fun and not stoop labor!
Key Points of Dutch Oven Cooking
- Top heat makes the difference! Bottom heat is important but stepping up to baking and roasting requires top heat.
- Seasoning is a must. A well seasoned Dutch Oven will make all methods of cooking with it that much easier.
- When baking or roasting always pre-heat the Dutch Oven.
- Don’t be afraid to take notes. Dutch Oven cooking is far from an exact science and is highly variable depending on the a lot of factors. Having good records to fall back on can be very helpful.
Brats, Beans, And Beer Recipe
This is a great recipe to get your feet wet with Dutch Oven Cooking. For the most part it cooks like a stew but the finishing step requires some top heat, so you can get a feel for it. Another great thing is if you mess up with the top heat portion it doesn’t take much away from the recipe.
The Ingredients
- 1lbs of Bratwurst (5 or 6 Brats)
- 2 Large Onions, halved and sliced
- 2 Tbsp + 1 Tsp of Olive Oil
- (2) 15oz cans of Cannellini Beans
- 8oz of beer (a lighter beer works best here)
- 1/4C of seasoned bread crumbs
- 1/4C of grated Parmesan cheese
The Directions
- Start 40 coals going in your charcoal chimney. Once they are going nice and hot put 15 underneath the Dutch Oven and start pre-heating the lid with 18 on top of it.
- Add 2 Tablespoon of Olive Oil and the Brats to the Dutch Oven. Brown them for 5 minutes. Remove them and set them aside. Add the sliced onions to the Dutch Oven and allow them to soften for 5 minutes. Stir occasionally so they don’t burn.
- Pour in the beer and bring it to a simmer. Dump in the beans (liquid and all) and return the brats to the Dutch Oven. Bring the mixture back to a boil and let it thicken for 2 minutes.
- Mix the bread crumbs, cheese, and remaining olive oil together and spread over the top of the mixture.
- Place the pre-heated lid onto the Dutch Oven and move the Dutch Oven onto 6 fresh coals. Bake for 20-30 minutes. Check it at 20 minutes and if the bread crumbs have browned it is done. Otherwise give it a few more minutes. Once it is done remove the lid and serve!
Like this recipe? Mike’s got plenty more over at The Backyard Pioneer’s Dutch Oven Recipe Page!
Dutch Oven Cooking Wrap-Up
Dutch Oven cooking can be fun and rewarding. It offers a direct link to the brave souls who tamed a continent and is a valuable preparedness skill as well. It is also just a fun hobby as you can challenge yourself with more intricate recipes.