1

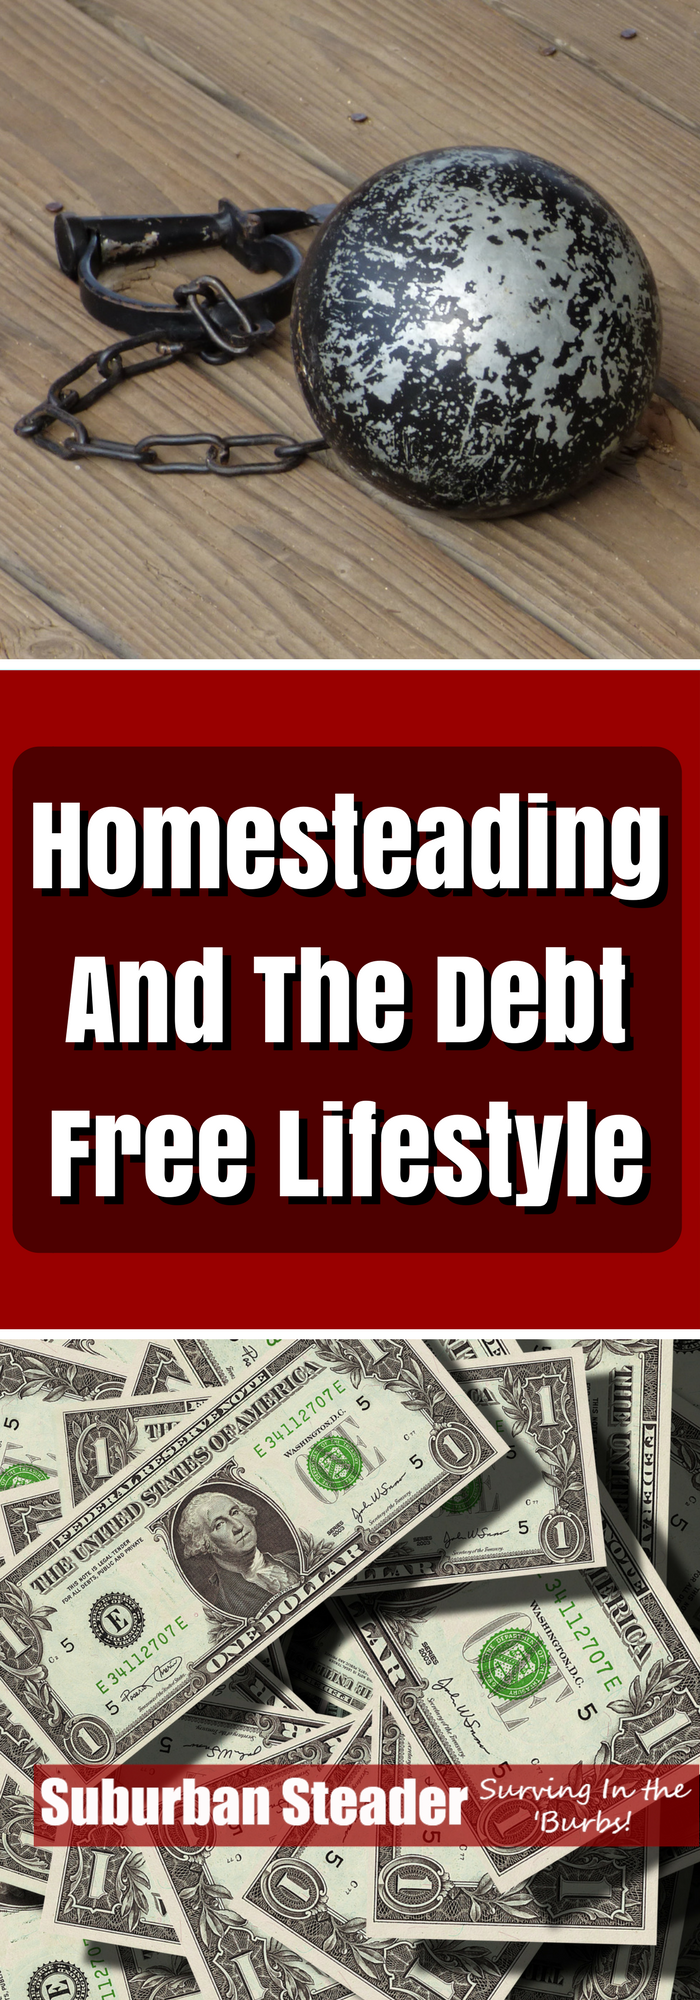
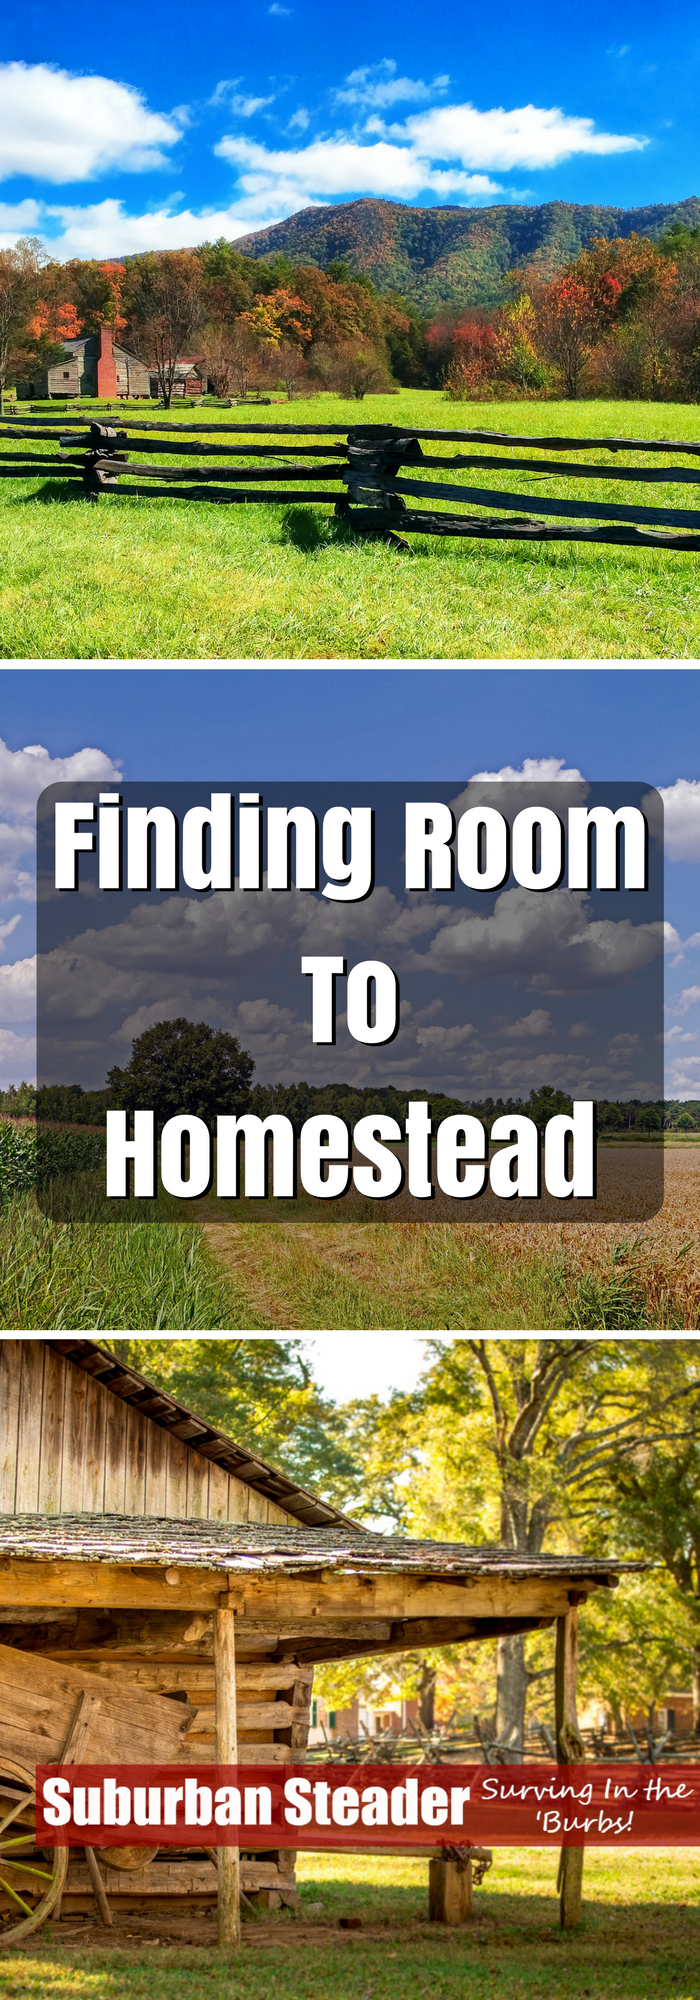
Homesteading And The Debt Free Lifestyle

It’s difficult being an urban homesteader. In order to make it, you need to be independent.  Independence can mean many things, but a lot of people think of owning a good amount of land.  So what is a poor city inhabitant who longs for the country life supposed to do? Become debt free!

Going Debt Free

Homesteading and independence go hand-in-hand with being debt free. The tips below will allow you to homestead anywhere.  They will also show you how to cut expenses and save cash.  The culmination of this effort can result in a debt free lifestyle.  The same kind of lifestyle that might see you own that real estate in the country.

Container Gardening

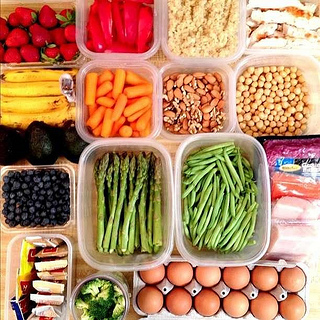
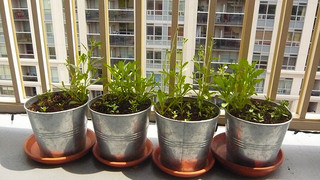
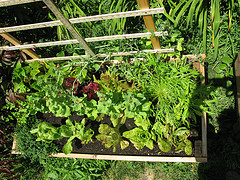
Think you need a patch of earth to grow vegetables? Reconsider. You can grow tomatoes, lettuce, squash and potatoes in simple containers.  Items such as barrels, pots or hay bundles will do.

Even better, container gardening is perfect for those new to planting. You have fewer plants to manage, less weeding and less immediate cost and time.  You can grow a significant number of crops in minimal space, even if all you have is a small balcony.  All you need is a little planning.

Zucchini and strawberries can grow in hanging wicker bins.  Similarly, tomatoes can be grown in little tubs.

Gardening and growing vegetables doesn’t require large machinery or planting equipment. All you have to do is make use of the things available to you.

Make and Use a Solar Oven

One of your biggest expense can be your utilities.  Have you thought about how you can continue on the debt free path and cook for free? A Solar Oven is simple to make and can completely reduce your utility costs.

Keep Some Chickens

A friend of mine hatched chicks from prepared eggs utilizing an electric skillet set on low.  They used some water to keep the air inside the skillet soggy and a towel to pad the eggs. Five of the eggs hatched and three of the birds made it to adulthood. She now keeps these three hens in her lawn. When they are mature enough, these animals will supply her with eggs once a day.

The cost of feed will most likely be offset by the amount of money you spend on eggs.  You can take the savings and put it towards your debt free goals.

Raising chickens isn’t for everyone.  Make sure you check the rules and regulations of your city.  Also, make sure you are on board with raising livestock.  It’s a full-time commitment.

Live Simply

A smart thought for anybody, yet key for a trying homesteader. Figure out how to curtail costs now, keeping in mind you are busy.  Dispose of the extra costs in your life. A homesteading lifestyle requires that you figure out how to deal with what you have as opposed to rushing to the store for something new.

Do you need those three TV sets? What about that vast closet of clothes? Learn to get by with what you have now.  Heading to the store when you’ve ‘made it’ might not be as easy as you think.

Conclusion

Living simply also means curtailing any extra costs that you might be incurring.  Doing things like paying off any loans that you have taken as soon as possible can lead to a debt free lifestyle. Do not to buy items on credit. The simple life may be what’s needed to get you to your debt free goals.

Homesteading & Debt Free Lifestyle


5 Homesteading Blogs You Should Be Reading

Typically I try to point my readers to a specific article on other sites that is relevant to homesteading or I just wanted to share.  But, today I wanted to share with you the list of 5 homesteading blogs I think you should be reading.  All five were picked because they publish articles on a regular basis and contain great homesteading information.

* In alphabetical order:

  1. The Backyard Pioneer: It’s no secret that Mike over at The Backyard Pioneer is our brother-from-another-mother.  He’s a great guy who, more importantly, writes a terrific blog.  His articles range the gamut from gardening to cooking to equipment review.  The Backyard Pioneer takes a rustic, cost-conscious approach to his projects and we highly recommend his no-nonsense approach to gear and technique.  Oh, and don’t forget about his recipes – I can vogue for the high quality of the food he makes! (His Chicken and Dumplings are awesome!)
  2. Home Ready Home: The owner/author of Home Ready Home is Julie and she describes herself as someone who “used to dream of being a guest on Oprah, but now, [wishes she] could go on location with Survivorman.”  That says it all in a nutshell. The articles on Home Ready Home are top-notch and Julie definitely takes a “family-first” approach to her tutorials and instruction.  The content is gardening and cooking heavy – concentrating on how to eat what you grow and grow what you eat. (Check out her 5 Items You Should Be Growing In Your Garden)
  3. Homestead Dreamer: Homestead Dreamer is a new addition to my reading repertoire and, so far, it has not disappointed at all. The blog is very interested because it is basically chronicles a young Alaskan couple as they work towards self-sufficiency. As you can imagine it’s very homestead driven with flavors of self-sufficiency. Highly recommended! (The article on Unraveling the Mystery: Drying and Dehydrating Food is a nice intro)
  4. Survival At Home: While probably the least homesteading-centric blog, Patrick has a great site over at Survival. He regularly publishes good articles on survival, prepping and homesteading which cause you to pause, think and re-evaluate your approach. It’s been my experience that he is helpful and always willing to talk to folks and send them in the right direction. (like his article on 45 Ways to Save Money on Your Monthly Bills)
  5. Tenth Acre Farm: This list wouldn’t be complete without a site that concentrates on permaculture. Amy and Vince have a (shocker) tenth acre lot in Cincinnati, Ohio where they grow most of their own food and implement permaculture principles on a scale relevant to their land. I highly recommend getting up to speed on their project/homestead and becoming a regular reader. It’s amazing to see how permaculture and a desire to change your life can manifest itself in a very cool project. (Their article on Front Yard Rainwater Catchment was awe inspiring).

More?

Tell us in the comments what other homesteading sites you follow and why. Or why you already read and like the sites I mentioned.

5 Homestead Blogs You Should Be Reading

5 Homestead Blogs You Should Be Reading


June Preview – Project TWH

First, let me apologize. The end of May and June were a crazy time around the Suburban Steader Homestead. I don’t really feel like going into detail, but a lot of family issues came up. Long story short, everyone is happy and healthy(er) now, so we’re moving on. And, while it’s early June, we’re going to continue with the Project TWH and discuss the June Preview.

As an aside, my goal is to write about both the June and July topics this month in hopes of getting caught up. If it spills a little into August, so be it, but please know that I am committed to this discussion and believe it’s beneficial for both my readers and myself.

In what seems to be a theme lately, the June Preview of Project TWH is a mismatch of topics. Some of the topics are straight-up homesteading related. Others are more suburban homestead related and can be related to a general approach for bettering your life.

As usual, we’ll be referencing The Weekend Homesteader throughout this month. In fact, our four main articles for the month will be centered around the four topics Anna Hess outlines for June:

  • Compost
  • Worm Bins
  • Seasoning
  • Your Real Hourly Wage

Compost

  • Goal: Build a compost pile
  • Cost: $0-50
  • Time: 1-3hrs
  • Difficulty: Medium
  • Kid-Friendly: Yes

Compost – the lifeblood of a garden. Well, maybe that’s water, but you get the point. We’ll spend a good amount of time talking about the science behind compost and how to create it. Not sure what browns and green are? Should you turn or aerate your compost? Do you need to water it? Don’t worry about it because we will talk about all these topics and more. We’ll also get a little into how to store or contain your compost with bins and store-bought systems.

Worm Bins

  • Goal: Build an under-the-sink worm bin
  • Cost: $35-100
  • Time: 1-2hrs
  • Difficulty: Medium
  • Kid-Friendly: Yes

Yup, you hear that right. Worms! And we’re going to teach you how to build a worm bin to grow them! Well, the purpose of the worm bin isn’t really to grow worms, it’s to produce worm casting and worm tea for composting and fertilization needs. This post will be a kind of “How-To” in that we’ll walk you through building a worm bin and getting started with growing a worm colony. We’ll talk about what to do with the by-products of your bin and wrap up with a list of resources to get started on this most interesting adventure in suburban homesteading

Seasoning

  • Goal: Expand your culinary horizons by trying out new spices and herbs
  • Cost: $0-10
  • Time: 1-2hrs
  • Difficulty: Easy
  • Kid-Friendly: Yes

The first two posts for this month will concentrate on helping your garden grow and this post will give you some advice on what to do with its product. When you think about it, we garden and raise animals on our suburban homestead for one reason – to feed ourselves! Seasoning, however, makes this goal that much more interesting. Herbs and spices add whole new level of taste, texture and nutritional input to your diet. We’ll talk about the basic herbs and spices, how to use them in your cooking and where you might want to try experimenting with ‘off the beaten path’ herbs and spices.

Your Real Hourly Wage

  • Goal: Discover the true value of your time
  • Cost: $0
  • Time: 1-2hrs
  • Difficulty: Easy
  • Kid-Friendly: No

It’s probably not a stretch to assume that, as a suburban homesteader, you probably live in the (gasp!) suburbs. That being said, it’s probably safe to assume that you don’t own enough land to be completely self-sufficient. That means that one of you (at least) must have a full-time job. And I bet you can either tell me how much you get paid annually or per hour. But is that really what you make? In this post, we’ll spend some time talking about how to calculate your real hourly wage and what to do with those numbers. This article and it’s tasks will be an interesting introspective activity for you; I expect it will really get you thinking about what’s important to you and what isn’t.

Conclusion

So there you have it, the June Preview of Project TWH. As usual, it’s going to be an eclectic and busy month. There are some hands on activities as well as some non-gardening activities – this blog is about suburban homesteading after all and gardening is just one subset of that. I’m definitely interested in a few of the article this month – worm bins and real hourly wage especially. So sit back, enjoy a cup of coffee and join us on our suburban homesteading journey in June.

Like what we’re doing here? How about letting us know in the comments or on Facebook?

June Preview - Project TWH


May Preview – Project TWH

May is lining up to be an interesting month at the Suburban Steader Homestead. In the May Preview of Project TWH, we’ll talk about a lot of things that may seem unrelated. A few are pure homesteading activities and a few are more general approaches to the suburban homesteading lifestyle. It’s an interesting mix of tasks that I think you’ll really enjoy.

As usual, we’ll be referencing The Weekend Homesteader throughout this month. In fact, our four main articles for the month will be centered around the four topics Anna Hess outlines for May:

  • Plant Your Summer Garden
  • Nutrition
  • Mulch
  • Teamwork

Plant Your Summer Garden

  • Goal: Plant a small garden
  • Cost: $0-20
  • Time: 1-5hrs
  • Difficulty: Easy
  • Kid-Friendly: Yes

Finally! The planning in April is paying off and you’re ready to put seeds and seedlings into the ground! In this post, we’ll spend time talking about when to plant and what information to take into account when planning. We’ll also discuss resources available to you which can help you time your plantings appropriately. Succession planting will be a topic we touch on as will how to plant. Finally, we’ll spend a little time talking about maintaining the garden once you’ve got crop in the ground.

May Preview - Project TWH

photo credit: Arya Ziai via photopin cc

Nutrition

  • Goal: Discover what types of food make your body healthy and happy
  • Cost: $0-5
  • Time: 1-10hrs
  • Difficulty: Easy
  • Kid-Friendly: Maybe

You can’t run a suburban homestead if you’re not of sound body. That means that nutrition and physical fitness are important to us. With that fact in mind, we’ll take a look at what is good nutrition and how do we acquire it. I’ll spend a little time talking about how I honed in my nutrition a bit (spoiler: I’m not perfect, and you don’t have to be) and I’ll wrap up with a list of resources that I recommend you look into in order to make your own informed decisions.

Mulch

  • Goal: Mulch your garden for weed control and organic matter production
  • Cost: $0-100
  • Time: 2-10hr
  • Difficulty: Medium
  • Kid-Friendly: Yes

Sick of weeding? Mulch is your solution. But there’s more benefits than just reduced garden labor when it comes to mulch. I’ll talk about the pros and cons of mulching and whether I believe it to be a solid tactic for your garden. We’ll dig a little into the science of mulching but don’t worry, you don’t need a degree in chemistry or biology for this discussion. We’ll finish the discussion by identifying different kinds of mulch, potentials places to source them and how to apply them to your garden.

Teamwork

  • Goal: Find a person or group of people whose homesteading skills complement your own
  • Cost: $0
  • Time: A lot or a little
  • Difficulty: Medium to difficult
  • Kid-Friendly: Maybe

While we aim for a self-sufficient, self-reliant life, suburban homesteaders aren’t going to go it alone. Nor should they. Building community through teamwork is key to long-term survival. I’ll spend some time talking about different roles within a team and how they might jive in a community setting. In the end, I’ll wrap it up talking about how I’m using a community teamwork approach to build my suburban homestead.

Conclusion

So there you have it, the May Preview of Project TWH.  Sounds like it’s going to be a busy month with a lot more hands-on activities than April. I’m really looking forward to a lot of the topics coming up this month – I could spend hours talking about nutrition and teamwork as they both relate to big parts of my past. I’m also VERY excited to get my garden in the ground. I hope you sit back, enjoy a cup of coffee and join on our suburban homesteading journey in May.

Like what we’re doing here? How about letting us know in the comments or on Facebook?

photo credit: Distant Hill Gardens via photopin cc

May Preview - Project TWH


Finding Room To Homestead

Suburban homesteading is a different animal than normal homesteading. Finding room to homestead can be a tricky task for the typical suburban homesteader, especially those who live on small plots of land or in apartments. Granted, if you live in the suburbs but have a large plot, this task may be easy for you.

Those of you with minimal to no land need not fret – we’re here for you. This article will help you find room to homestead on your lot. We’ll use our lot as an example and concentrate on three main areas:

  • Lawns
  • Container Gardens
  • Areas Beyond Your Yard

Finding Room To Homestead

photo credit: gfpeck via photopin cc

Lawns

A lawn is one thing most suburban homesteader have at their disposal. Even if you live on a small lot, there’s a lot of room to homestead on that nice green carpet you have.

But how, you ask? That’s simple – landscape integration!

Even though it’s a lot of land from a homesteading standpoint, your lawn is something many suburban homesteaders don’t want to completely get rid of. Plus, what would the neighbors think?

First, forget about the neighbors. They don’t pay your rent or mortgage, so what they think doesn’t matter (unless you are unfortunate enough to live in an HOA). If you’re really concerned about your neighbors, you can keep your front yard untouched and hide your homesteading in the backyard.

Second, realize that you can incorporate homesteading into your lawn in a way that is aesthetically attractive while still functional.

Here’s a few examples of how you can incorporate homesteading into your lawn:

  • Incorporate bushes (blueberry, strawberry, etc) into areas where you’d normal put box hedge or other partioning bushes
  • Place fruit trees in areas you want to create shade
  • Build garden boxes and raised beds into your landscape rather than large inground gardens
  • Stick with hens if you are going to have chickens (and build an attractive tractor for them)

How We Use Our Lawn

We follow most of the suggestions above at the Suburban Steader homestead.

First, we do not have an in-ground garden. All of our gardening area is built into the landscape as raised beds. They allow us to landscape around the garden and provide a more aesthetically appealing element to the backyard.

Second, our backyard is fenced off and we have mulch beds around the majority of the fencing. We have been planting many perennial plants like strawberries and blueberries in these areas. This approach stacks functions as it puts an aesthetically pleasing plant in the mulched area and also provides an additional  food producers. If I’m going to maintain a plant, I’d prefer that it produces food for me.

We have primarily worked in the backyard.  The front yard is currently untouched but we do have plans for it. As we clean up the remnants of the former owner, we do plan on putting in some fruit trees – probably apple – in the future as well as some more “fedge” (food hedge) type plants on the peripherals.

Find Room To Homestead

photo credit: Bad Alley via photopin cc

Container Gardens

You’re not out of luck if you don’t have a lawn. You can still find room to homestead with container gardens. A sunny balcony, stoop or window can provide more room than you think for growing food. You’ll obviously be limited to what you can grown, but if you center on herbs and easier to grow plants like tomatoes and peppers, you’ll do just fine.

The one thing you need to pay attention to with container gardening is light. South facing areas will get more sun than others, but you can work with just about any light source. Do a little research on what grows best with the amount of sun you’ll get.

Soil will also be a concern. You don’t have the advantage or having seemingly limitless nutrients from the ground so you need to be sure to use a good soil full of organic matter at the onset and then supplement it with something like compost tea (we’ll talk about that later on in this series) on a regular – probably monthly – basis.

How We Use Container Gardening

Our use of container gardening goes back to the aesthetic approach. For the most part, the Suburban Steader homestead uses container gardening for easy access items like herbs. We place containers on the wall of our patio during the summer and grow items such as oregano, basil, parsley, rosemary and mint in them. These items are easily accessible when we are cooking (especially when cooking outside) and provide a fragrant aroma to our patio area.

Areas Beyond Your Yard

Taken up all the space your little window and stoop offer and want to do more? Here’s a few places you might be able to find room to homestead away from your home:

  • Community gardens
  • Empty lots
  • Neighbor’s lots
  • Churches or schools

Definitely talk to the folks who own the land before you go ahead and start homesteading on land that isn’t yours.

I want to make a point that, while we have talked almost exclusively about gardening, homesteading isn’t all gardening. You can do a lot of other suburban homesteading tasks like canning, cooking and food storage if you don’t have a piece of land to garden on.

How We Expand Our Homesteading

The Suburban Steader homestead is currently confined to our lot. We haven’t expanded much beyond our quarter acre other than to build community.

Wrap-Up

So there you have it – how to find room to homestead. Most of these steps are pretty easy. Take a look at your own little spot in life and see how you can tweak it to your needs.

Please let us know any tips you have for finding room to homestead in the comments or on our Facebook Page.

photo credit: Al_HikesAZ via photopin cc

Finding Room To Homestead


April Preview – Project TWH

In the April Preview of Project TWH, we’ll review the tasks we have lined up for this month.  A lot of these tasks are planning-related.  This April Preview couldn’t come at a better time for us.  The weather is finally warming up here on Long Island which means  it’s time to start planning our suburban homestead activities for the upcoming growing season.

In The Weekend Homesteader, Anna Hess outlines four tasks that we’ll tackle in April:

  • Find Room To Homestead
  • Survey Your Site
  • Plan Your Summer Garden
  • Kill Mulch

Find Room To Homestead

  • Goal: Seek out growing space even if you don’t own land
  • Cost: $0
  • Time: 1-2hrs
  • Difficulty: Medium
  • Kid-Friendly: Maybe

This task is rather simple despite the semi-ambiguous title.  We’ll spend a little time figuring out what we have in terms of our land.  During this time, we’ll take a look at what we can change/use/not use to grow and improve our suburban homestead.  We’ll look at the kind of land we have – lawn, forest, unused areas, etc – as well as areas where we might want to consider non-conventional approaches to suburban homesteading.  In addition, we’ll consider the use of areas beyond our yard (empty lots, churches, neighbors’ yards, schools, etc.) for expansion of our suburban homesteading use.

April Preview - Project TWHSurvey Your Site

  • Goal: Figure out the assets and problems presented by your yard and community
  • Cost: $0-5
  • Time: 2-5hrs
  • Difficulty: Medium
  • Kid-Friendly: Maybe

Now that we’ve identified WHERE we are going to homestead, it’s time to figure out HOW we’re going to homestead.  We’ll start by sketching a map of our land – don’t worry, you can print out images from Google Earth if you failed art – and determine what we really have to workout.  The map can be used to develop a sun and shade profile (possible in conjunction with Google Earth and SketchUp Make).  It will also be used to determine paths commonly used on the property.  Similarly, we will identify areas that are accessed the most and areas accessed the least.  The soil in each area will be analyzed for its ability to grow crop.  The culmination of this information will allow us to create a plan for our land and determine what activities will take place where.

Plan Your Summer Garden

  • Goal: Decide on the size, location and layout of your summer garden and choose the vegetables to plant
  • Cost: $0-20
  • Time: 1hr
  • Difficulty: Easy
  • Kid-Friendly: Maybe

Again, this task is fairly simple – we’ll take a look at the site survey and determining what we’ll plant where.  Each location and layout within each location will be reviewed.  In addition, a small discussion on record keeping and  it’s importance for a suburban homestead will take place.  The end result will be a list of vegetables we intend on growing.  We’ll also develop a general plan for where on the property each vegetable will be grown.

Kill Mulch

  • Goal: Prepare a garden plot without tilling the soil
  • Cost: $0-100
  • Time: 1-4hrs
  • Difficulty: Medium
  • Kid-Friendly: Maybe

Finally a task that involves real work and not just paper and pencil planning!  Kill mulch is “an easy way to turn last year’s vegetable plot…into a no-till garden” according to The Weekend Homesteader.  In the simplest description, we’re going to chop the current growth as close to the ground as we can, lay down some mulch or compost that has seeds in it, followed by wet cardboard or newspaper.  The kill mulch will be finished with weed-free compost and a thick layer of mulch.  This approach will ensure our garden area does not have any growth that we don’t want and will also build up the health of the soil.

Conclusion

So there you have it, the April Preview of Project TWH.  There’s not many of exciting things in this month’s task list but a lot of important steps to set up for a successful suburban homestead.  As the information and plan evolves, so will the homestead.  Now that we’ve laid out the plan for the month, we’ll keep you updated as we start to execute on each of these tasks.  Looks like the beginning of a fun journey!

Like what we’re doing here? How about letting us know in the comments or on Facebook?

photo credit: roman.petruniak via photopin cc

Project TWH: April Preview


DIY Battery Storage Cabinet

Successful suburban homesteading hinges on your ability to quickly solve problems.  More often than not, those problems involve fixing or replacing something.  On a more remote homestead, this may mean big projects like fixing broken fences, solving leaky roofs and clearing large lots of lands.  In the suburbs, the day-to-day problems are typically a bit more benign.  And the tools that suburban ‘steaders use tend to be less bulky and many times run on batteries.  That being the case, not being able to replace your batteries quickly because you can’t find any can be a big problem.  Enter the solution to your problem: the Battery Storage Cabinet!

Required Material

Full disclosure, I found this project on WoodMagazine.com via The Survival Sherpa’s Facebook Page.

This project is rather simple (and cheap) to do.  Here’s all the material I used, where I bought it, and how much it cost:

  • 2.5″ x 0.5″ x 8′ Pine Boards (2 x $4.37 at Home Depot)
  • 1/4″ x 2′ x 4′ MDF Panel (1 x $6.27 at Home Depot)
  • 1/8″ x 18″ x 36″ Clear Acrylic Sheet (1 x $19.93 at Home Depot)
  • #8 FH Wood Screws, 1/2″ Long (1 pkg of 100, $8.66 at Home Depot)
  • Total Material Cost: $43.60

While the total material cost was $43.60, I am able to use the left over MDF, Acrylic and wood screws for other projects.  That brings the total material cost (material consumed) down to $15.06. The only material cost I’m not showing is the nails I used to put the pieces together.  I had a large quantity on-hand so they were “free” to me on this project.

Required Tools

I, personally, am the kind of person who prefers to use the right tool for the job.  Because of that, I used a good number of different tools to get this project done.  You can follow my lead or use simple tools like a handsaw, hammer, nails and screw driver.  If, however, you’d like to speed up the process, here’s what I used:

Again, you don’t need all these tools to make the Battery Storage Cabinet, but they sure do help!

Battery Storage Cabinet Assembly Instruction

As they say, a picture is worth a thousand words.  To help assist you in assembly of the Battery Storage Cabinet, I have provided a PDF document below that shows how the pieces go together and the dimensions of all the individual pieces.  A bit of advice – take the time to review the document and cut the pieces as close to exact as possible.  It will help during the final fit-up and assembly.

DIY Battery Storage Cabinet

Click To Download Build Plans!

Final Thoughts

The Battery Storage Cabinet is a great organizational tool for the homesteader.  It allows you to easily organize your batteries and quickly take inventory of where you are lacking in inventory.  On top of that, it’s a great project to do on a weekend day.  I was even able to get one of my kids involved (see below) which made this project all the more fun to do!

DIY Battery Storage Cabinet Helper

My little helper measuring out our next cut!

If you have any questions about this project, please feel free to leave a comment here or on Facebook!

DIY Battery Storage Cabinet Helper