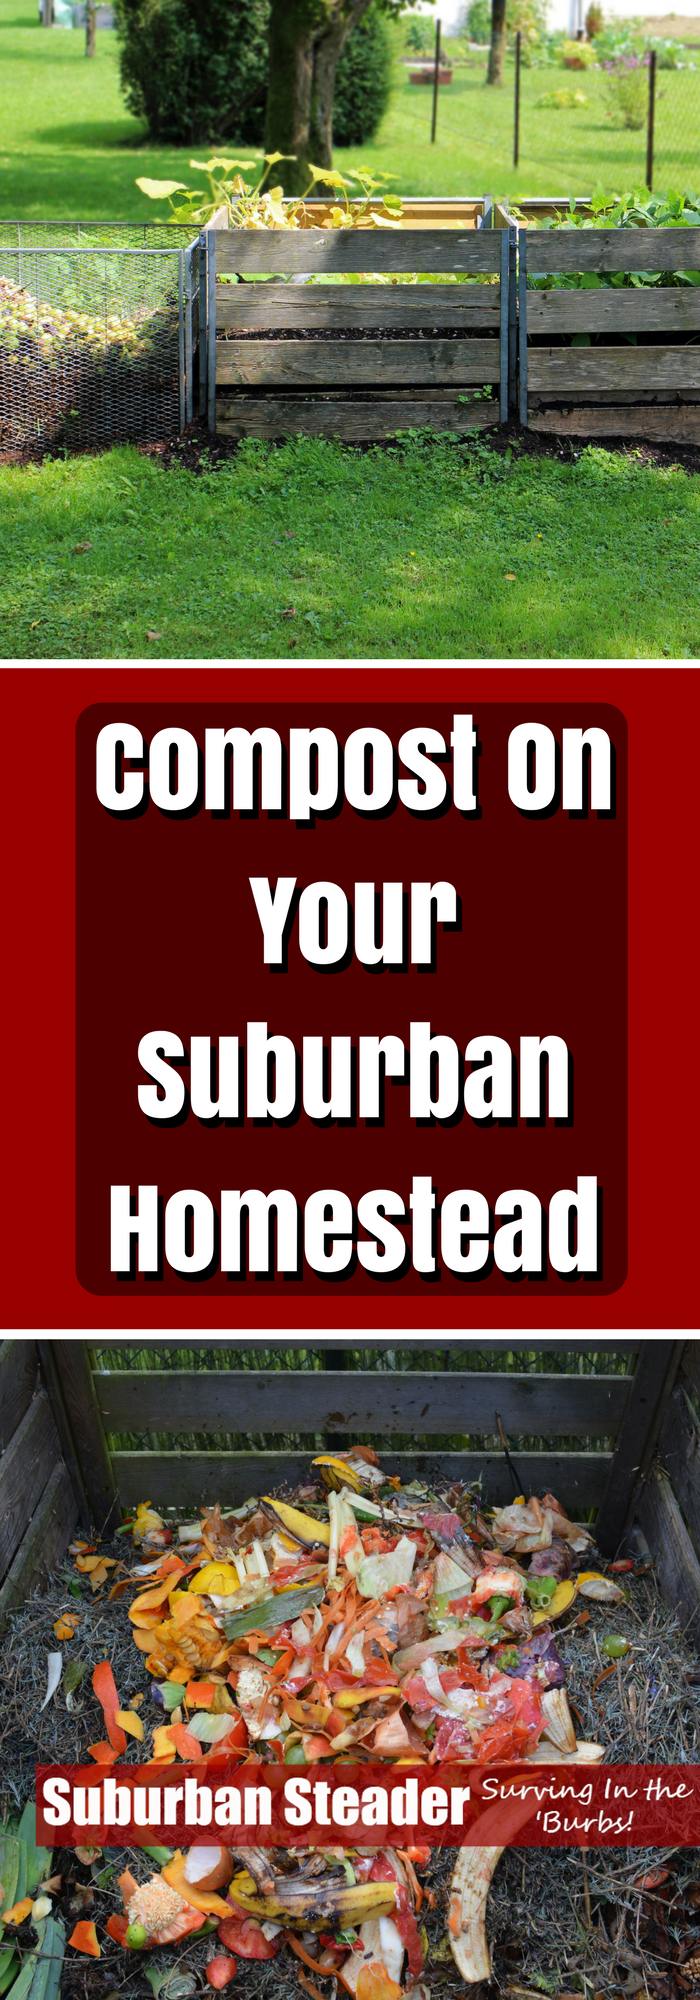
Compost On Your Suburban Homestead
What comes to mind when you hear the word compost? Do you think of some stinky pile where food scraps get thrown and flies live? If that’s what comes to mind then you need to know something – you’re doing it wrong! Compost is a decidedly simple yet effective process that anyone on a small suburban lot can partake in. You’ll see incredible benefits in your garden once you take the plunge into making good compost.
Compost Science
The ‘art’ of making compost is actually quite easy – it’s less art and science and more…well, just doing. You need to make sure you have the right ingredients and keep them moist (not wet). You also need to make sure you’re turning it often to keep the heat up inside the pile. And, while it’s a very forgiving process, it’s also good to have an understanding of what goes into compost.
Temperature
Temperature can be a fickle creature in the world of compost. On one hand, an elevated temperature can help you. Keeping the compost at a minimum of 104°F for five days (hitting 131°F for five hours during that time) will make sure that all the weed seeds and pathogens in your compost are killed. Likewise, if you get too hot it’s not good either. For example, if you hit 160°F, all the microorganisms – basically bacteria and fungi – that make the compost action happen will die.
Heat is caused in the compost pile when the microorganisms begin to decompose the plant material you’ve included. You are most likely not going to have to cool down your compost pile (it’s pretty hard to get it that hot). But, if you do see smoke on your compost pile, all you have to do is add water to cool it down. Adding a mixture of high carbon ingredients (dead leaves are great) after the water is a good idea.
Browns and Greens
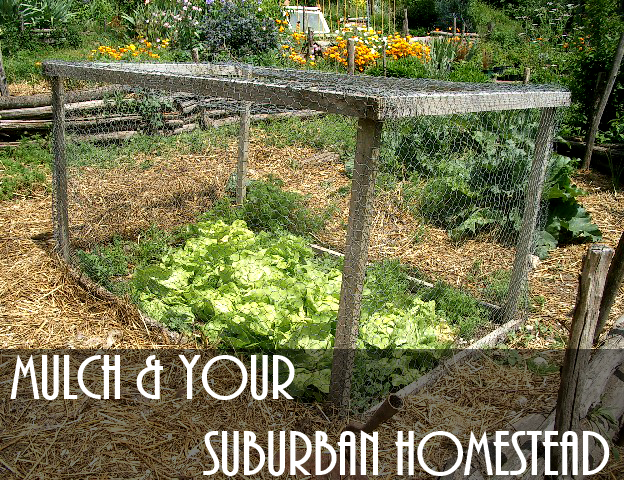
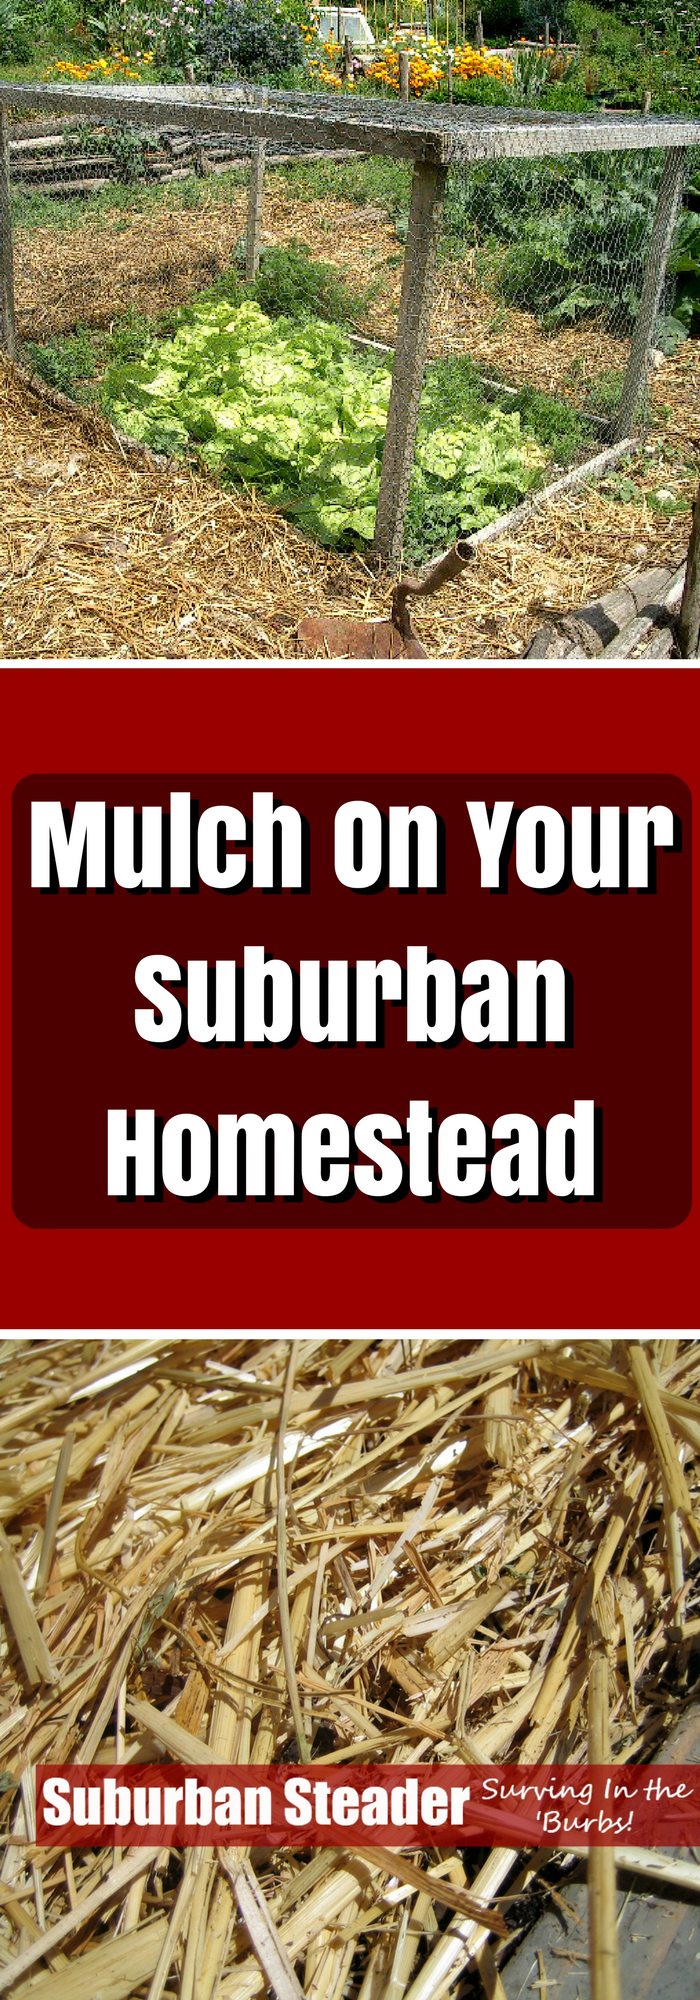
If you remember the post about Mulch and Your Suburban Homestead, you’ll remember how we talked about the C:N ratio. This ratio is commonly thought of as the ratio of browns to greens. The table below gives you a few examples of browns and greens:
| Browns | Greens |
| Autumn Leaves | Grass Clippings |
| Wood Chips | Fruit/Veggie Scraps |
| Sawdust | Coffee Grounds |
| Shredded Paper | Manure |
The easy way to remember which is which is to remember that greens are typically moist and colorful (with the exception of coffee grounds and manure – both of which are moist). Everything else is browns.
You want to start your pile at a rough C:N ratio of 30:1 meaning your browns are 30x more prevalent than your greens. This scenario will whittle down to roughly 10:1 or 15:1 as the decomposition occurs.
An ammonia type smell coming from your compost pile means you have too many greens. Likewise, if you don’t see a lot of decomposition action going on, you’re probably too high on the browns.
If you’re the analytical type, check out this compost calculator to see how well you are doing.
 Particle Size and Shape

Believe it or not, size and shape greatly influence your compost. As a rule of thumb, the smaller the better. The microorganism can more easily digest small pieces. A good example of this phenomenon is an apple. We put a whole apple in our compost pile and then chopped one into small pieces and placed it in there as well. After a certain amount of time, the small pieces were barely recognizable and the whole apple was more or less intact.
Remember that shape is equally important. If you have material that is so small that it can mat together when wet – whole sheets of paper, full lettuce leaves, or very finely ground up food – the air and water will not be able to get in and help the microorganisms work their magic.
Aeration
As I eluded to above, air is critical to the decomposition process in a compost pile. Much like humans, microorganisms take in oxygen and expel carbon dioxide. If these little guys can get oxygen, they’ll eventually be smothered and replaced with anaerobic microorganisms (anaerobic = no oxygen). These guys stink (literally) and don’t decompose your compost nearly as well as their aerobic counterparts.
So how do you aerate your compost pile? Easy – keep it open to the air and turn it often.
Moisture
Again, the microorganisms are like you and I in that they also need moisture to live. But, much like temperature, moisture can be a fickle situation. Too little moisture and your microorganisms will perish. Too much and they’ll drowned; being replaced by their anaerobic counterparts.
You can tell if your compost pile is sufficiently moist by grabbing a handful of the compost. If it feels like a wrung-out sponge when you squeeze it, it’s good. For the most part, you won’t have to worry about this problem as your greens and rainfall will give the pile enough moisture.
Turning
Turning is one of those things that people have differing opinions on. Some folks say that nature does this kind of process without turning a forest floor. And they’re completely correct. But those people are usually more patient and willing to wait a year or more for a compost pile to be ready.
Those of us who are a bit more impatient will turn the pile on occasion. Turning the pile provides a few benefits to the compost pile. First, the temperature at the middle of the pile is always going to be greatest so turning it allows for a more thorough compost. Second, turning the compost pile helps aerate it and break up clumps that may shed water.
We here at the Suburban Steader Homestead turn our pile because we believe it provides a better quality compost in a shorter time.
 Compost Bins
Good news – science class is over! Now we’re getting into the hands-on part of this post.
The question also becomes: What should I make my compost in?
My answer is usually a simple Nothing.
To be perfectly frank, the compost pile on the Suburban Steader Homestead is just a pile on the ground. We add our table scraps, scrapped paper, straw, etc to it and turn it on occasion. We’ll water it during especially dry spells but those are far and few between considering where we live.
But, you may not want to have a compost pile just laying on your property somewhere so let’s talk about what you can do:
Pallet Compost Bin
This concept is very simple. Make a four-sided area out of wooden pallets and put some hinges on it so you can open up one pallet. Now make another one next to it in the same manner. Once one bin is full, use a pitchfork to move it to the second bin. This movement will aerate the compost pile for ‘finishing’ in the second bin. You can now start a new pile in the first bin. By the time you’ve filled the first bin again, the second bin material should be ready to use.
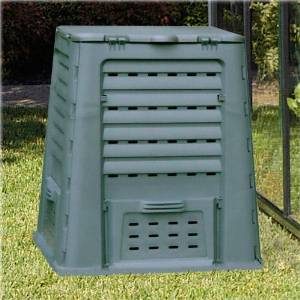
Compost Tumblers
You can either buy these at your local big box store or make one out of a plastic 55-gallon drum (with a cover) and a pipe. Put the pipe through the barrel length-wise so the barrel can spin around it and support the pipe with a wooden frame. Now all you have to do is cut and opening in the barrel – make sure you can close it again – that you can both add material and retrieve your compost from. Now all you have to do is add material and give it a spin. These aerate your compost quite well and generally produce quality compost at a faster rate. The problem is that the amount you produce is significantly smaller than what you can with a pallet bin or pile situation.
Using Compost In Your Garden
Using compost in your garden is soooo simple. Follow these three rules:
- Pull back mulch
- Apply compost
- Reapply mulch
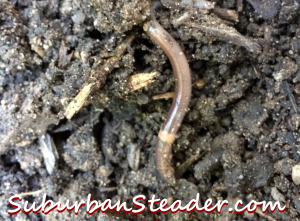
That’s it. Following these simple will help build up the health of your soil. The sponge-like capability of the compost will retain moisture in the garden, the nutrients will attract earthworms which will work the compost deeper into your garden. Pretty soon your soil will be darker and richer with a higher level of microorganisms.
Wrap Up
Compost is a wonderfully easy and inexpensive tool that every suburban homesteader should have in their toolbox. While there’s a plethora of science behind, the premise is pretty simple. Throw some browns and greens together, add moisture and oxygen, turn it occasionally and get out of the way. Nature will do the rest of the work.
You’ll see incredible benefits in your garden and you’ll enjoy knowing that your soil is getting more and more fertile which means you can grow better and better produce. Everyone wins!
Additional Resources
- The Dirty Truth About Compost
- Compost, Vegetable Gardener’s Gold by Mike the Gardener
- How to Brew Compost Tea
- Solve These 3 Common Compost Problems
- SMART Composting – Turn Your Spoil into Soil
- Fall Leaves: The Perfect Ingredient for Compost
Please let us know any tips you have for making compost in the comments or on our Facebook Page.