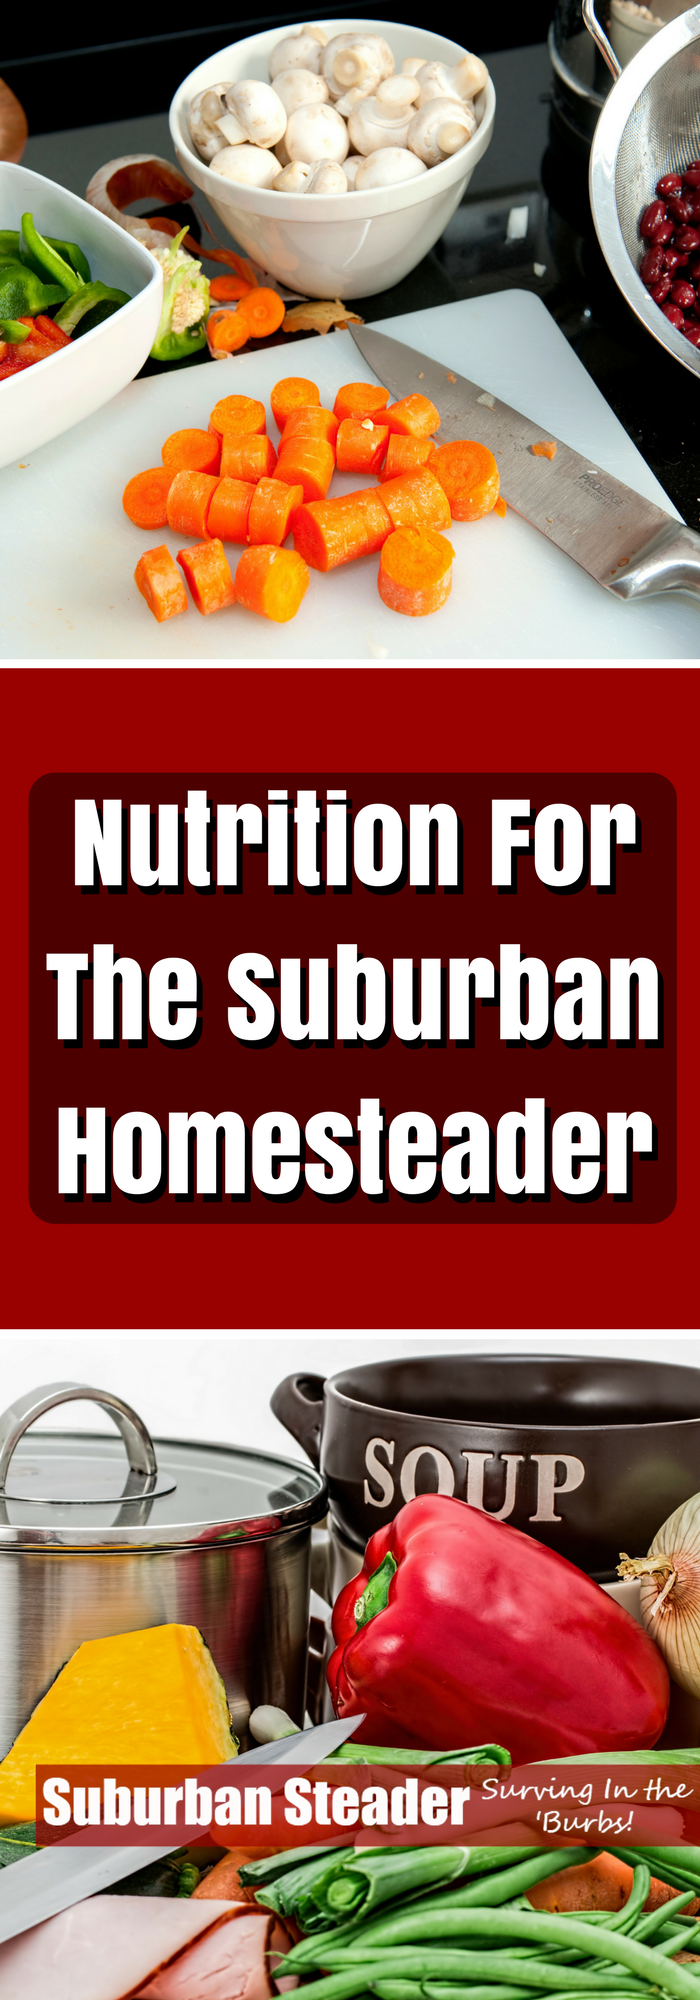
Nutrition For The Suburban Homesteader
I know what you’re thinking. Nutrition? This is a blog about suburban homesteading! What does nutrition have to do with that?
The short answer is: a lot!
Think about it this way: you are the engine that gets work done around your suburban homestead and the food you eat is your fuel. Remember how the gas station has different grades of fuel for your vehicle? Well, that’s essentially what nutrition is for you – it is a quality scale of your fuel and it helps determine well you will perform.
What Does The Suburban Steader Know About Nutrition?
I have something to admit to you – I was a bit of a meathead in my past life. I spent a lot of time lifting weights and building my strength up in an attempt to get into powerlifting. I learned a lot about nutrition as a part of this endeavor. Admittedly, I was concentrating on how to build muscle mass but the knowledge base I acquired serves me well to talk about nutrition as it pertains to any goal.
What Should You Eat?
I could spend hours and hours writing on this topic given my experience. Heck, I could write an entire blog on this topic alone – but I’m going to concentrate on the basics for this post. And the first thing I’ll do is let you in on the secret of nutrition:
Keep It Simple!
Yep, that old KISS rule works perfectly when it comes to good nutrition.
Nutrition, from the athletic point of view, is very specific. Athletes who participate in sports which require large muscle mass – bodybuilders, wrestlers, powerlifters, football players, et – require a large protein intake. They concentrate on lean meats which provide the nutrients needed to build muscle. Conversely, endurance athletes such as marathoners, bicyclists, triathletes and the like concentrate more on diets that provide more extended energy levels. These diets typically involve larger amounts of slow burning carbohydrates.
I’m not an athlete, what do I eat?
OK, I know I’ve been dodging the question about how to eat well for good nutrition. The answer is this – eat natural.
Huh? What does that mean?
It means that the closer your food is to natural, the better the nutritional value. If you look at the ingredients on the box of whatever you are thinking about eating and it sounds more like a science experiment than dinner, I’d suggest putting it down and moving on. Fresh fruits and vegetables are great. Meat that hasn’t been pumped full of hormones, antibiotics and other crap is preferred.
Two things I want to point out:
- Yes, this approach is very similar to a Paleo diet. While I’m not a complete follower of the Paleo approach (I have no problem with dairy and non-GMO grains in moderation), I believe that the general concept is a solid way to approach good nutrition.
- Yes, this approach can be more expensive. Eating fresh (non-GMO) vegetables and fruit as well as grass-fed, free range meat is more expensive than the basics you find at the supermarket. I’ve heard this added cost referred to as a ‘six pack tax’ and, while your goal might not be to get into swimsuit model shape, I think it’s a good way to think about this added expense.
4 Quick Steps To Better Nutrition
Still not sure how to get started with improving your nutrition? Here’s four basic steps to get you started:
- Journal Your Food: I recommend you track everything you eat for at least a week. Keep track of what you eat/drink, how much of it you ate/drank and how it made you feel. Don’t try to game the system by eating healthier – the temptation will be there – because it won’t help you improve.
- Change One Item: While you keep logging your food, make one change and see how it affects you. For instance, if you have a beer or glass of wine every night, maybe you could cut that out and only have one on the weekend nights. Or, if you find that you’re eating only red meat and poultry, try throwing fish in one or two nights a week. Continue logging your intake and documenting how the foods make you feel. Pay special attention to how the new changes make you feel versus the old habits.
- Find A New Place To Shop: You don’t have to completely change your shopping habits. Simply tweak it a little. Is there a farmers market you’ve been meaning to hit up? Give it a shot! Maybe you can get some of your veggies or eggs there. Increasing the value of some of your purchased goods will help increase your nutrition.
- Repeat Step 2 As Necessary: Once your first change becomes habit, go back and make another change. As you work through this change, keep track of how you feel. If you feel better, it’s something you should work into habit. Keep using this approach and you’ll find that your entire nutrition routine is changed for the better in short order. The best part of this approach is that it’s much easier to stick to than changing everything all at once.
Additional Nutrition Resources
Here’s a few places you may want to explore for more information on nutrition:
- RobbWolf.com: Robb Wolf is a former research biochemist and one of the world’s leading experts in Paleolithic nutrition. His website is considered the go-to site when researching Paleolithic eating and nutrition.
- FitDay.com: FitDay.com provides a free online food tracking journal that I have successfully used to track and modify my daily nutrtional intake.
- Harvard School of Public Health – Healthy Plate: The Harvard School of Public Health has published an alternative food plate (compared to the USDA) which they argue “is based exclusively on the best available science and was not subjected to political and commercial pressures from food industry lobbyists.”
- Weston A. Price Foundation: Dr. Weston A. Price was a dentist who went on a search for the cause of dental decay and physical degeneration. During that search, he found a nutritious way of living that is very similar to a Paleo approach. While they differ in approaches, they are very much alike and a lot of information can be ‘co-mingled’ to create a very basic, but very nutritious lifestyle.
Wrap Up
This topic can leave you with your head spinning or it can inspire you to learn more. I hope it’s the latter. I know you are not a nutrition expert by any means, but I hope that this post has helped you move along in your search for better nutrition.
Remember that, as a suburban homesteader, food is your fuel and nutrition is a way of describing the quality of that fuel. Also, remember that nutrition is an ongoing education – I’ve been involved in this world for the last fifteen years and am still learning every day!
Please let us know any nutrition tips or question you have in the comments or on our Facebook Page.
photo credit: BobPetUK via photopin cc