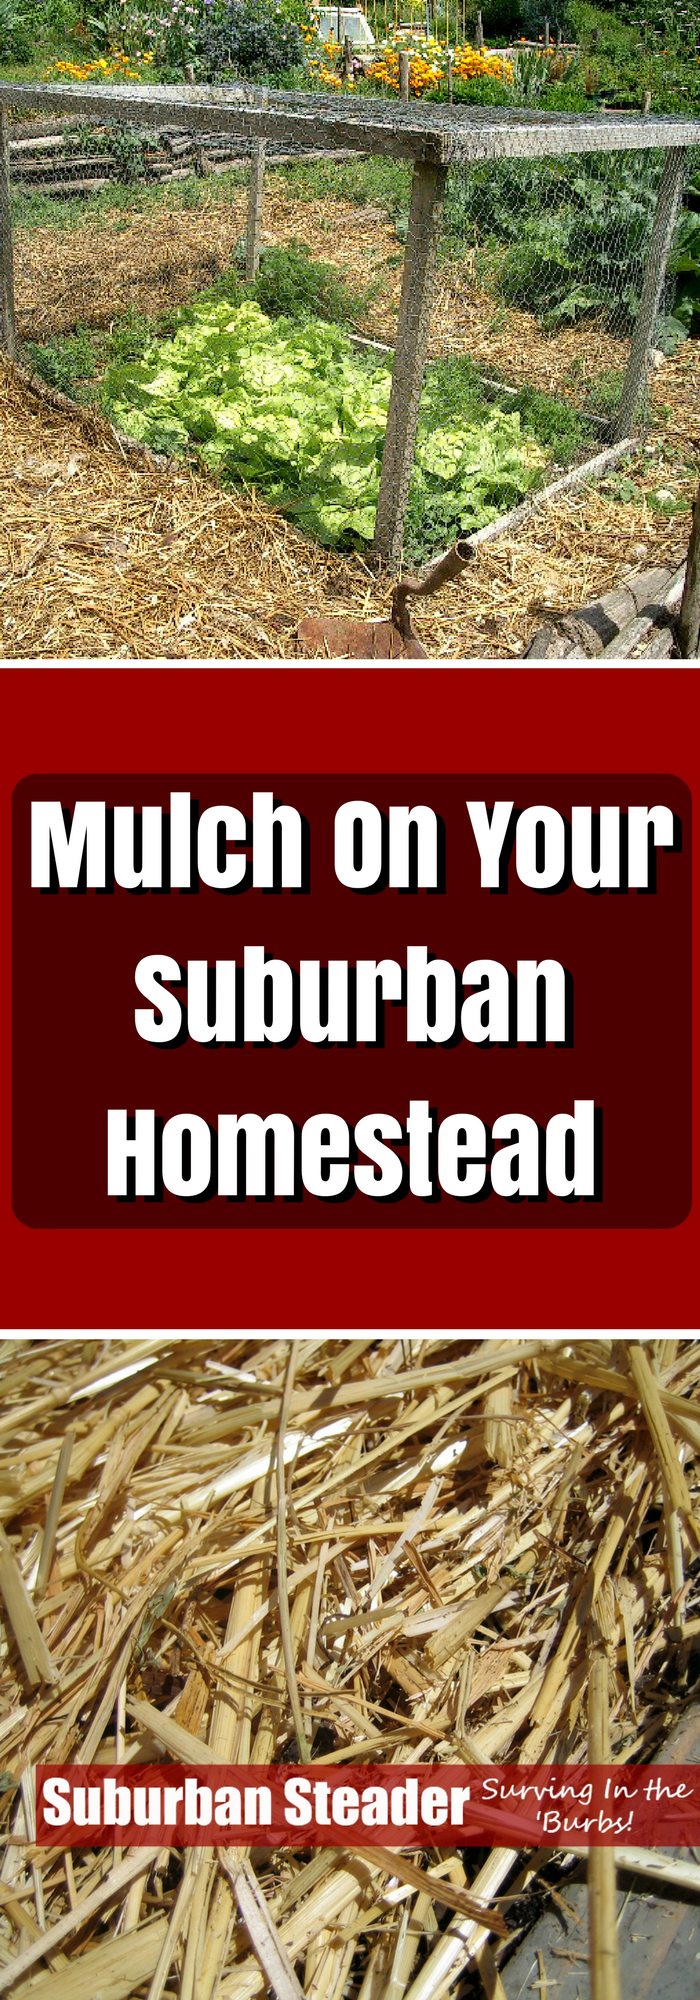
Mulch and Your Suburban Homestead
If you’ve been following Project TWH and implementing the suggestions on your own homestead, you most likely have a nice summer garden planted. And, if you have your summer garden planted, you’ve probably experienced weeding which is one of the downsides of a garden. Fortunately, we have the solution to your weed problems – mulch! Not only will mulch reduce or eliminate the weeding that you have to do, but it will also improve your soil over time. Double bonus! Let’s get into it:
Pros and Cons of Mulch
Mulch provides many benefits to your garden including:
- Blocks light to soil; greatly reducing weed germination
- Holds moisture that would otherwise evaporate
- Filters water from heavy rains; reduces soil run off
- Slowly breaks down into compost – increases organic matter and lightly fertilize soil
- Moisture holding keeps worms, salamanders and the like in the moisture during hot, sunny summer months
Despite these benefits, there are some detractors from adding mulch to your garden:
- Moisture holding increases the presence of pests such as snails, slugs and burrowing critters like moles and voles.
- Cost – sourcing good organic mulch can be difficult
I’ve never had major problems with pests but you might want to think twice about using mulch if you are already fighting these critters without the presence of mulch. In terms of cost, you might be able to skirt that issue if you grow your own mulch.
Grow Your Own Mulch
The key to this approach is cover crops. Cover crops can be defined as a crop grown for the protection and enrichment of the soil. The general approach is that a crop such as buckwheat, autumn seed oats, oil seed radishes and the like is planted. They grow quickly and either are ‘chopped and dropped’ or winter kill in place, providing mulch for the area. Sometimes legumes are used as they pull nitrogen from the air and it can be added to the earth. There is a free publication Manager Cover Crops Profitably that I would recommend for further reading on this topic.
Mulch C:N Ratio
C:N is a ratio of carbon to nitrogen. This ratio is expressed as a function of weight, so when talking about the C:N ratio of mulch, we’re talking about the pounds of carbon in the mulch material divided by the pounds of nitrogen in the material. A C:N above 1 means that the mulch has more carbon; a C:N below 1 means that the mulch is heavier in nitrogen. In The Weekend Homesteader, Anna Hess explains that “nitrogen provides quick meals for plants and bacteria, while the energy in carbon can only be accessed slowly, often by fungi. Knowing the C:N ratio of a material helps you decide whether to use that organic matter as compost, mulch, or neither.”
Common C:N Ratios
- Humus: Humus is a stable form of organic matter and has a C:N ratio of 10:1.
- Compost: Well built compost will weigh in around 30:1 which allows micro-organisms to thrive and quickly turn organic matter into humus. A C:N ratio of 30:1 is too low for mulching due to the fact that it will cause the organic material to ‘melt’ into the soil and will need to be replaced sooner than later.
- Mulch: Mulch will typically have a C:N ratio greater than 30:1. This ratio makes it difficult for micro-organisms to survive and, as such, don’t pull the nitrogen out of the soil.
Types of Mulch
With the basic chemistry and biology of mulch explained, we can step into the different kinds of mulch available to you:
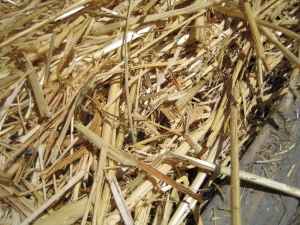
photo credit: stellar678 via photopin cc
Straw
The preferred choice of garden mulch on the Suburban Steader Homestead. The C:N ratio of straw comes in at a healthy 50:1 and, moreover, it sticks around for about 6-8 months. Cost is usually a sticking point for us but we use such little of it (1 bale takes care of both gardens) that it doesn’t pose that big of a problem. On Long Island, I can get straw for about $7-$8/bale. It’s important to understand the difference between straw and hay. Straw is sterile and is nothing but stalks from which the grain (seed) has been harvested. Hay consists of the entire harvested grass plant and is full of grass and weed seed. It is NOT a suitable mulch because, in effect, you are seeding your garden with a grass crop.
Rotten Wood Chips
Fresh wood chips range in the 200:1 (softwoods) to 600:1 (hardwoods) range and are too high in carbon for a mulch. If you let these chips sit for two years or so, they’ll decompose about halfway and be ready for use. Most people use this type of mulch around fruit trees with great success. Be careful with this kind of mulch as you can’t be sure of what’s in it if you don’t do the chipping yourself.
Municipal Waste Mulch
Many municipalities (including mine) collect grass clippings, leaves, branches and other organic material. They then grind it down and compost it into a mulch. It is often very reasonably priced – in my area, it is free to home owners assuming you can carry it from the processing area (they even bag it for you). The problem with this kind of mulch is the contents. You have no idea what is in there. Have people treated their grass with chemicals? Is there pesticides on the tree branches? Are there a bunch of ground up weeds with Round-Up in there? Think long and hard about whether you want to put that kind of thing on the soil that is growing food you want to eat.
Grass Clippings
The C:N ratio of this kind of mulch is about 20:1. Not ideal, but it will work for a short duration. The main positive of grass clippings is its availability. If you cut your own grass, you have almost a limitless supply for this kind of mulch. Likewise, if you live in the suburbs, it’s likely that your neighbors also cut their grass giving you a large supply of mulch. But not so fast. Do you or your neighbors use herbicides or pesticides on your grass? If so, skip this step. Also, you don’t want to use grass that is going to seed. It essentially defeats the purpose of mulch. If you don’t use anything on your grass and it’s not going to seed, then by all means use it as mulch. Just be prepared to replace it more often. The low C:N ratio means that the grass will ‘melt’ into the soil and need to be replaced sooner than later.
Comfrey Leaves
Much like grass, they work great assuming there is nothing added to them from the herbicide or pesticide family. You can grow a few plants in an out-of-the-way area and cut the leaves back every few weeks for mulch. I have no personal experience with this approach to mulching.
Autumn Tree Leaves
Everyone who has trees has wondered what to do with all those leaves. Well, there’s hope my friends! With a 50:1 C:N ratio, leaves tend to match straw in their level of use for mulch. And, for the most part, leaves are free. The downside to leaves is that they tend to blow away if not shredded. I have had good luck enriching my soil by adding a layer of leaves (roughly 1-3″ thick) under a layer of straw when I put my garden beds to sleep for the winter.
Compost
It can do the trick, but I don’t recommend it. Compost will, for a time, stock the propagation of weed growth. However, it will allow the weeds to grow eventually. Add that to the fact that you’re probably putting in some decent effort to make a quality mulch to better your soil and this approach is one I would steer clear of.
Cardboard and Paper
We’ve used cardboard in our kill mulch to much success. And, in a typically mulching situation, it works well too. The problem with cardboard and paper is their propensity to fly away if not held down. I typically recommend a layer or cardboard or paper under a layer of straw. Be aware that both items will likely decompose in a few months. Also, make sure to stay away from glossy and colored paper.
How To Mulch
OK, we’ve armed ourselves with all this information and procured just the right mulch for our application. How do we apply it? The first step is to weed your garden. Pull anything out that you don’t want to grow. Be sure to pull out the entire weed, root and all. Next, lay down enough mulch so that no weeds will germinate through it. I’ve found that the sweet spot in my gardens is anywhere between 2 and 4 inches, but you’ll have to experiment for yourself. Obviously, you’ll have thinner mulch around seedlings versus established plants. That’s about it. Maintenance is almost nonexistant. If you see a weed, pull it out and thicken up that area of mulch a bit. If you notice your vegetables are turning yellow, you probably have too high of a C:N ratio meaning you have a nitrogen deficiency. There are a few things you can do to fix this: add diluted urine (yes, you read that right), compost tea or a layer of compost to get things back in order. I’ll cover diluted urine and compost tea in June.
Wrap-Up
You’ve just done a little bit of work to make your life that much easier. Sit back, sip on a cold beverage and enjoy watching your neighbors scurry around weeding their gardens. Got a tip or question regarding mulching? Please let us know in the comments or on our Facebook Page. 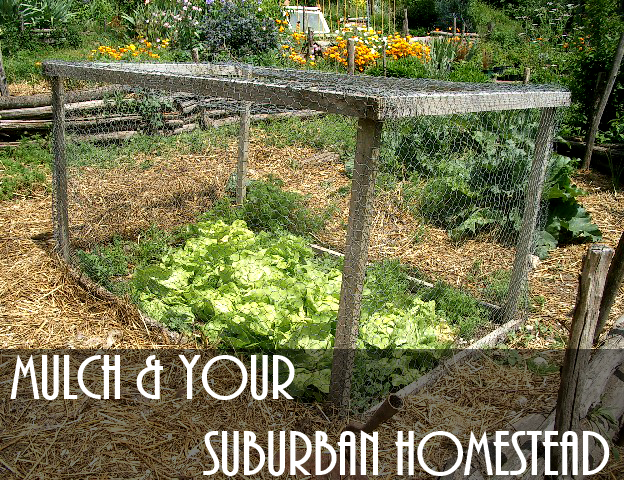
photo credit: hardworkinghippy via photopin cc